Bread newsletter no.4
two ovens and a galette recipe
Dear bread friends,
Welcome to the March Bread Newsletter. I’m sorry that I skipped the February one - the month was just too short and it just disappeared so quickly. I have many things to share with you from the last few months.
An initial thought that I wanted to share with you is that I am so glad to have baking as a hobby during these uncertain times. There’s something special about making sourdough when everything in the world feels like it’s going a bit crazy. Sourdough forces you to slow down. And most especially, it forces you to come to terms with some uncertainty and a lack of control. You can control quite a few things about the bread process, but there’s always a lot that you have to let run its own course too. So I think for the current times we are in, sourdough can teach us some very useful life lessons and perhaps help us to feel more calm.
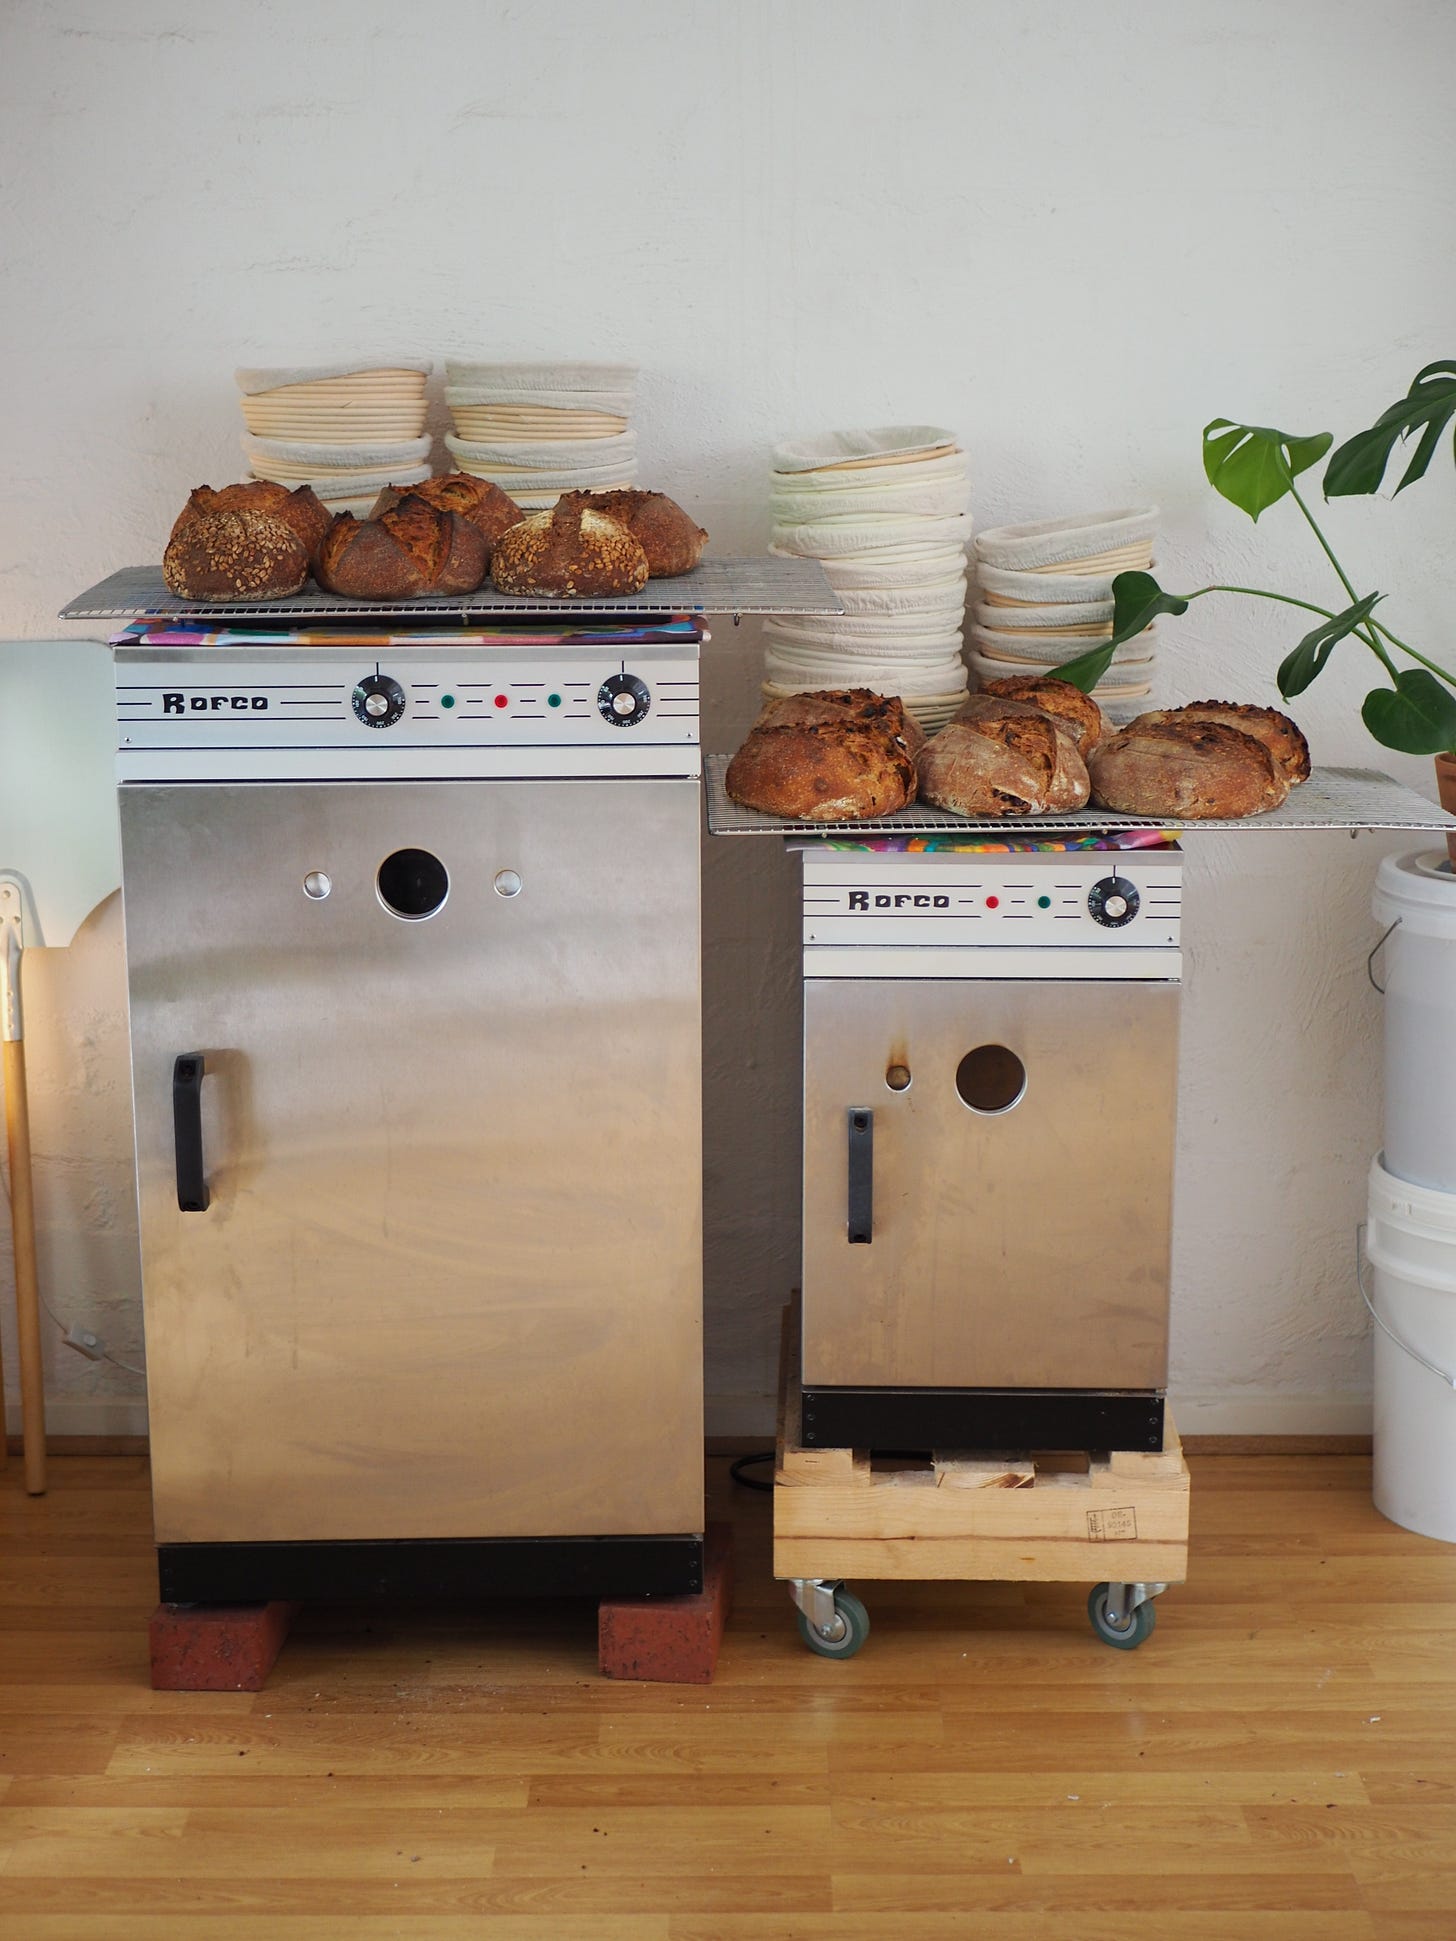
Last weekend marked one year since I drove 5 hours to Horsham to get my little Rofco B10 oven (which at the time didn’t seem that little). I was so afraid at the time. I thought it might be a big waste of money, like who would spend so much money on an oven for baking bread at home?! It felt like a really crazy thing to do but I am so so very glad that I took that leap. I can’t believe how much has happened in one year. I’ve loved having this oven because it’s allowed me to try out making so many different things with sourdough, and to then of course share those things with you. And almost exactly one year later, I also got a second oven, the Rofco B40. I am soo very excited about this because it now means that I have the potential to bake 20 or 30 loaves in one day, without it taking most of the day just to bake them all.

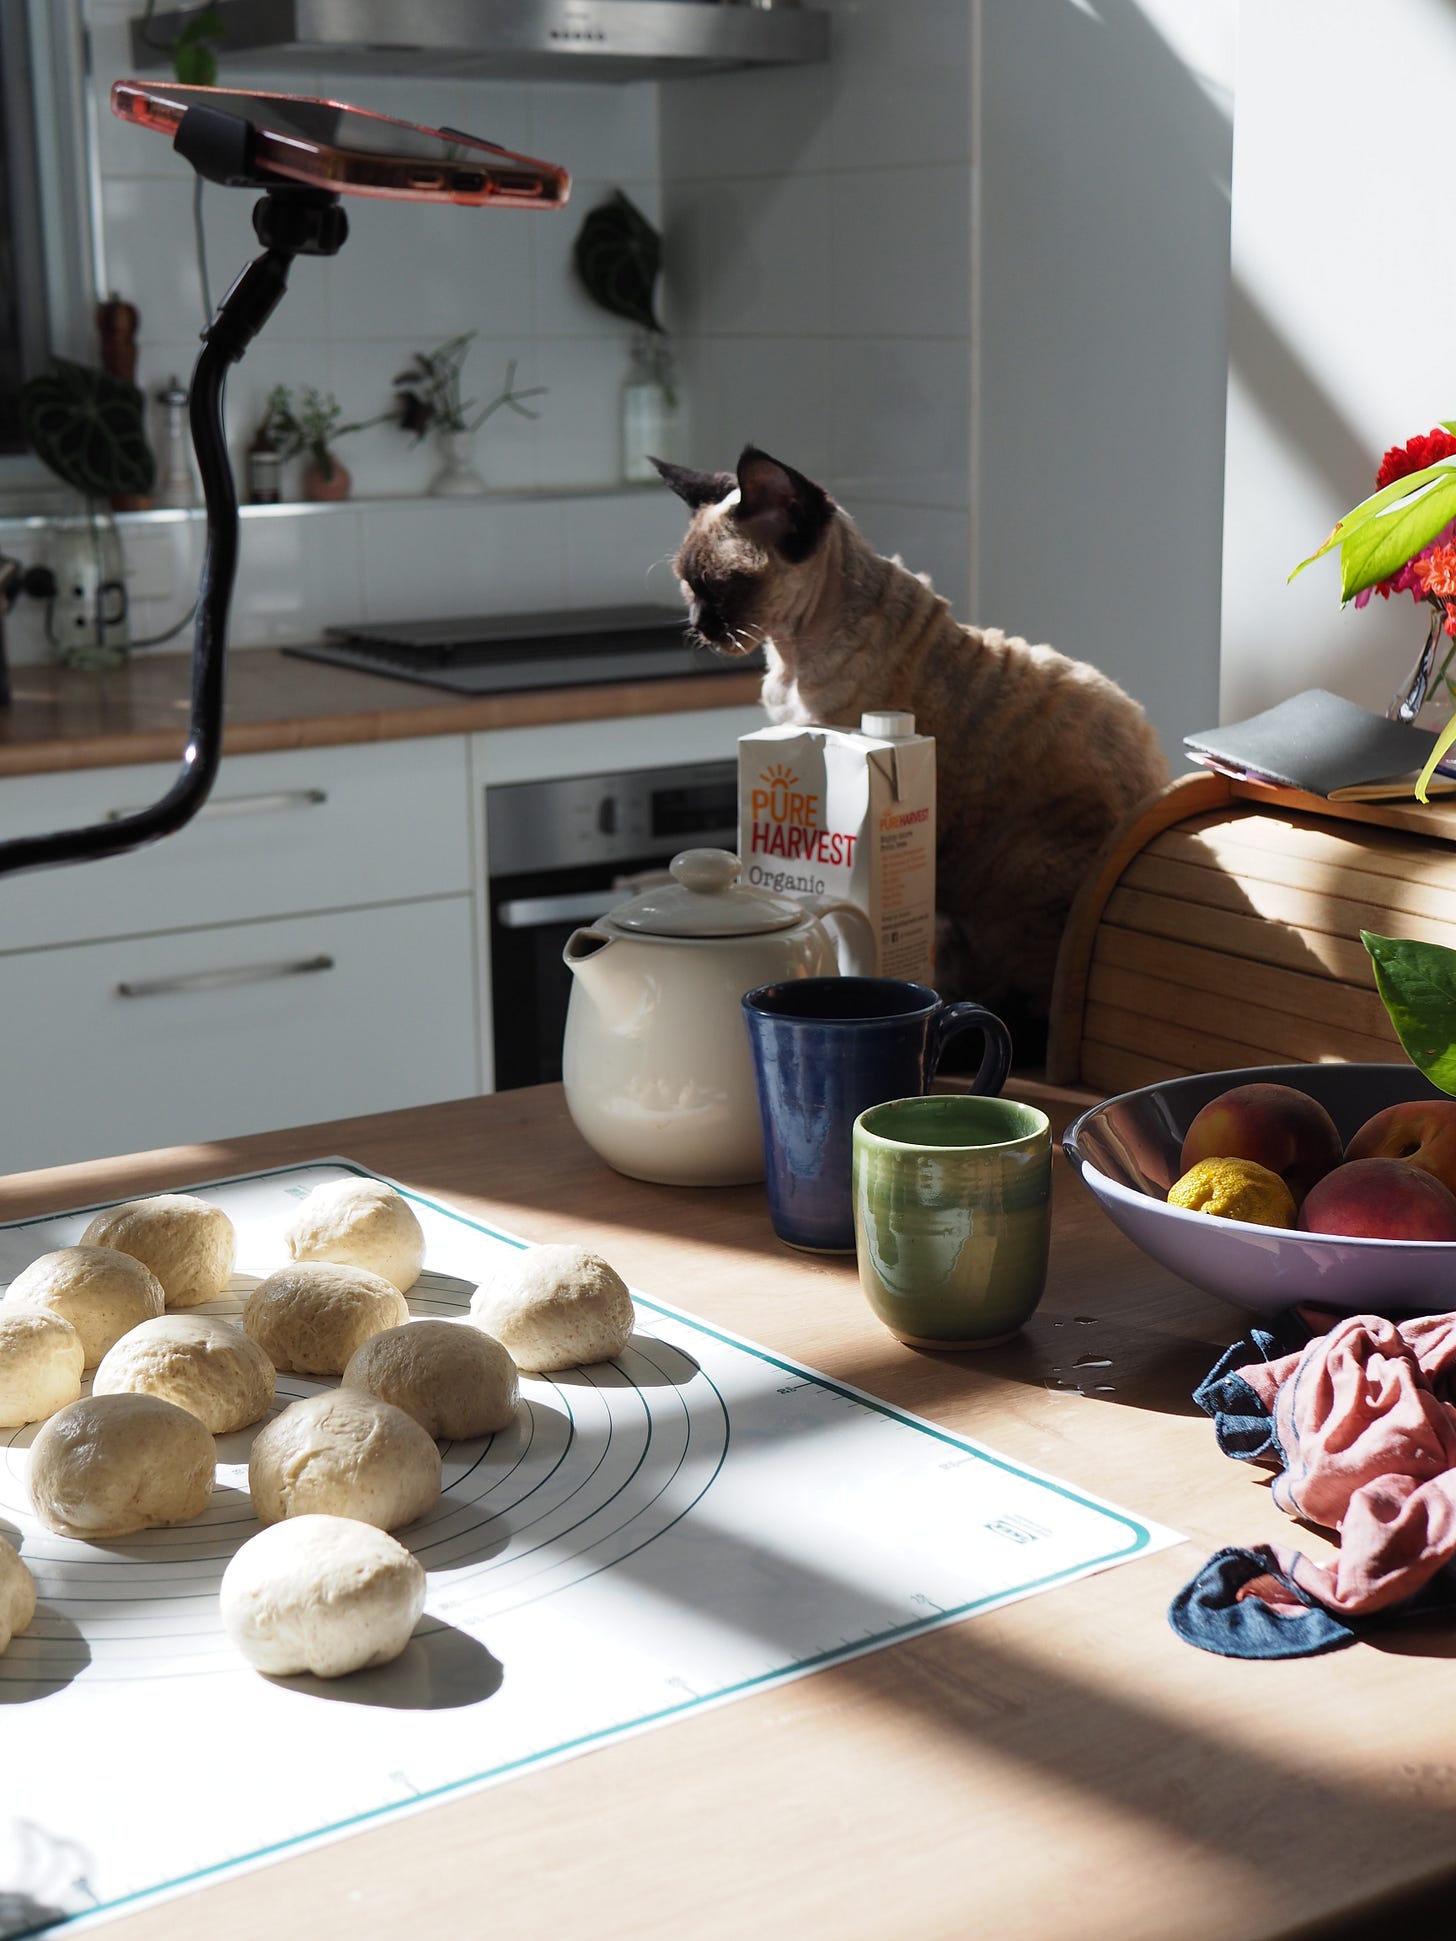
I am very excited too, to tell you that I’m working on organising a little stall with my friend Caitlin aka. @baking__friend, hopefully soon at the Stirling market. This idea came about after we made some amazing Brezeln together a few weeks ago. Caitlin is a very talented baker and she did such an excellent job of making, and showing me how to make, these beautiful pretzels.
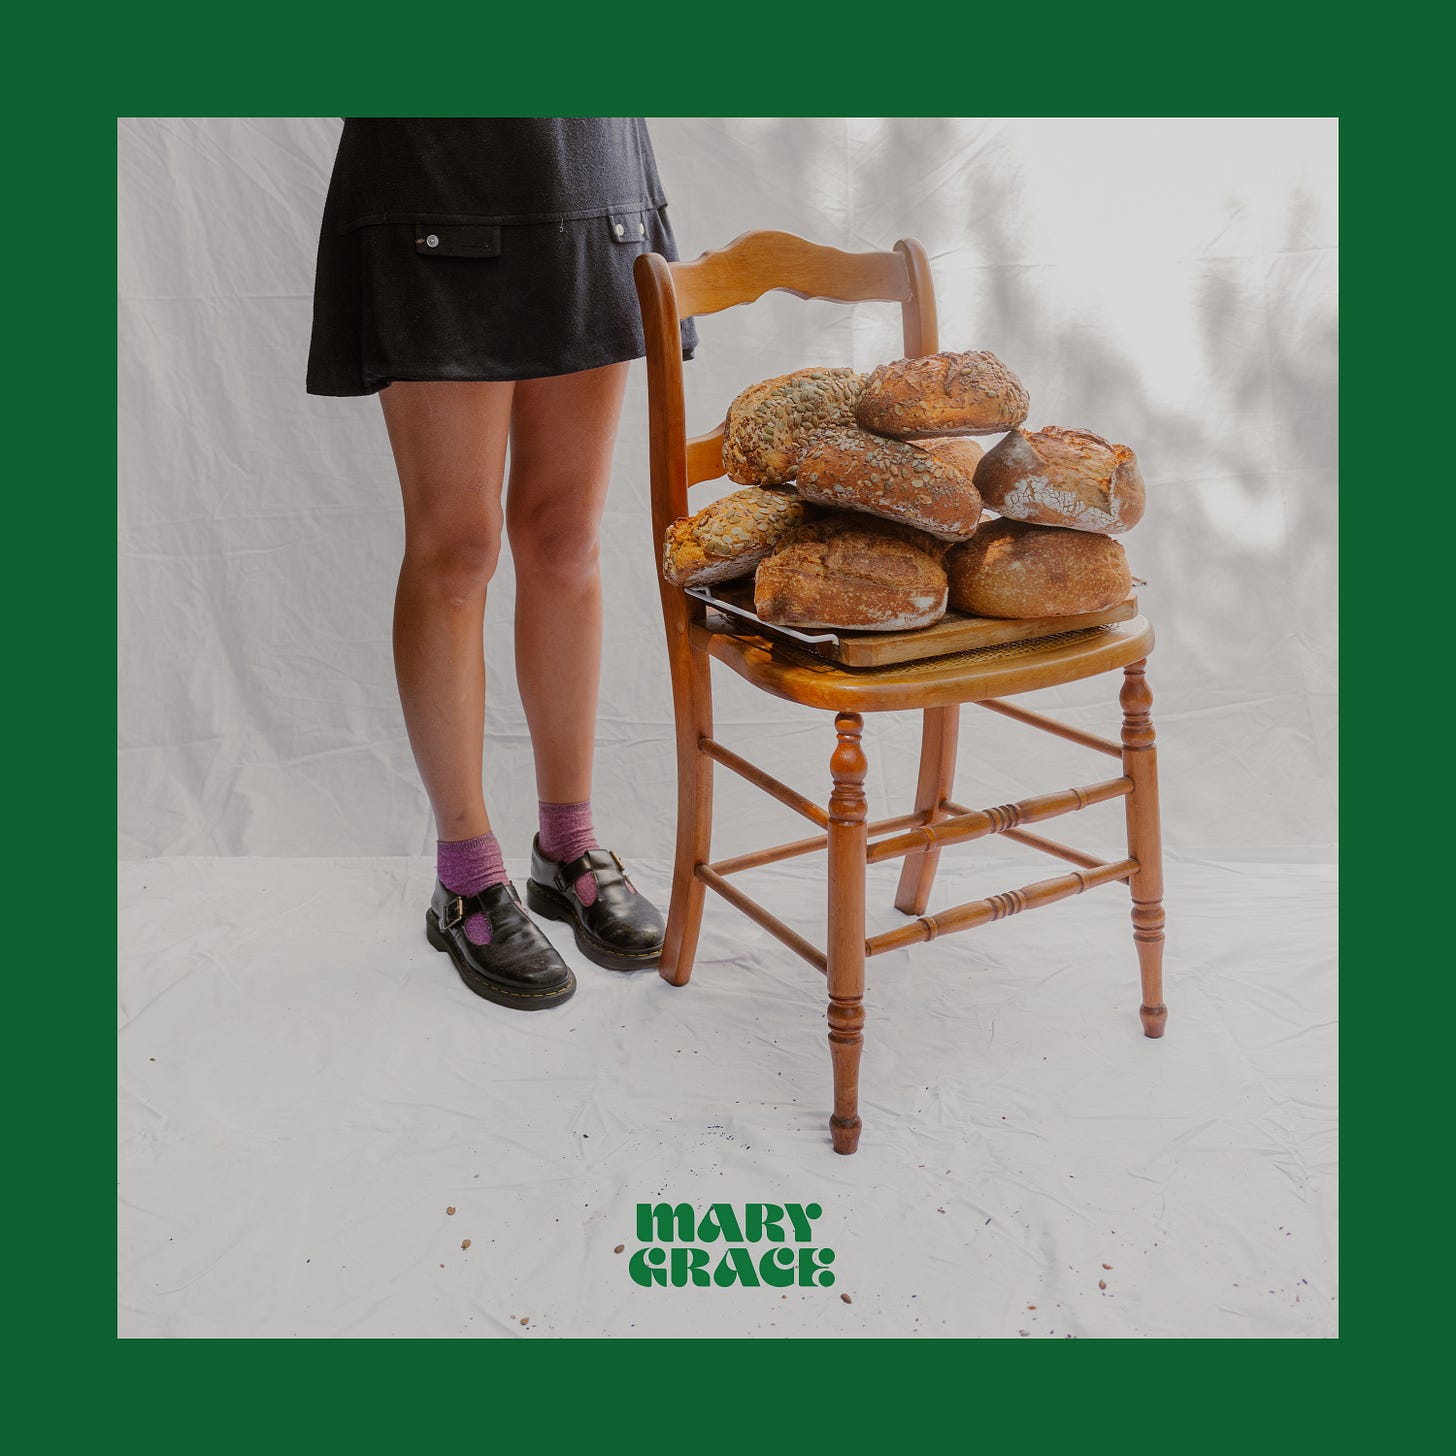
This Monday was a special day because I finally upgraded my logo from the pinky brown circle that it’s been for the last almost 18 months to a real official logo, beautifully and thoughtfully designed by my friend Marco Di Stefano. I think it’s just so perfect! Marco is also a very talented photographer and we did a bread photoshoot together while he was in Adelaide - now he’s back in Berlin.
Lately I have been baking and baking and baking and testing so many different versions of things that you can make with sourdough lately as part of the recipe development for my second book. You’ve probably heard me mention that I am working on this book a few times – very soon I will share more details with you so that you can sign up for a copy and see the cover and know more about will be inside!!
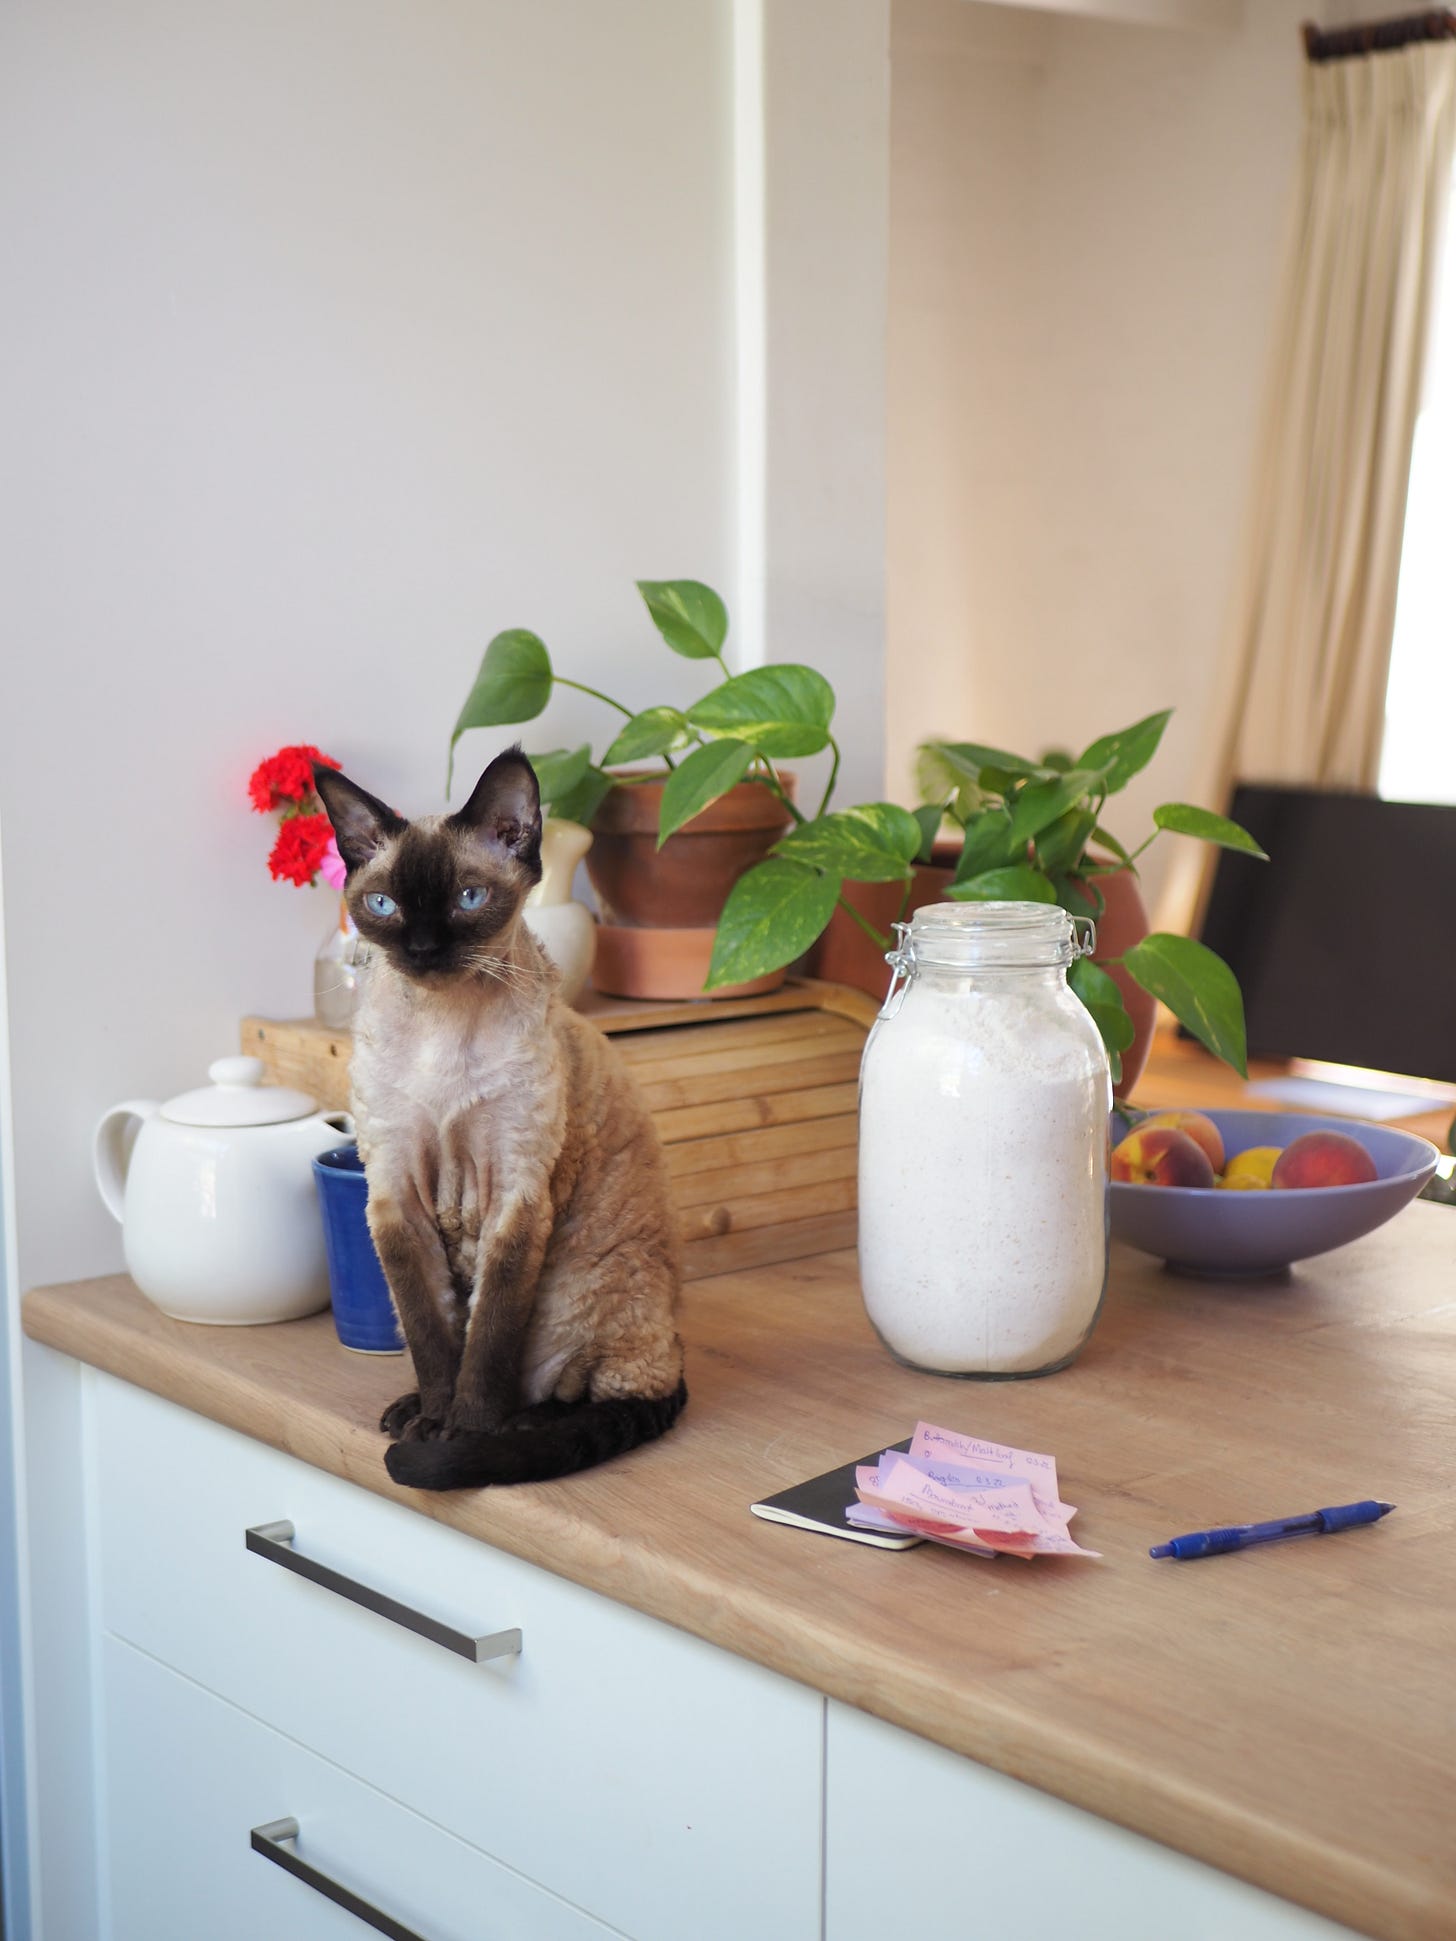
So far, it’s been a really excellent learning experience and I can’t wait to share more about that with you very soon! I’ve been taking lots of notes, writing down all my recipes (still using the disorganised system of post it notes…!), experimenting on the differences different temperatures and amounts of starter, types of flour, additions to your dough etc. can make on proofing. I’ve been thinking about how I know (or guess) when my dough done proofing. And I’ve been thinking (and of course writing about) how I can convey this info to you in a really straightforward, non-confusing way! I feel like I’ve learnt so much since I originally started writing Live Laugh Loaf, and I feel so lucky to have been able to share that book with so many of you! If you have shown your support for my account by buying a copy, please know that I am so so very grateful and it genuinely makes me so happy to be able to share it with you.
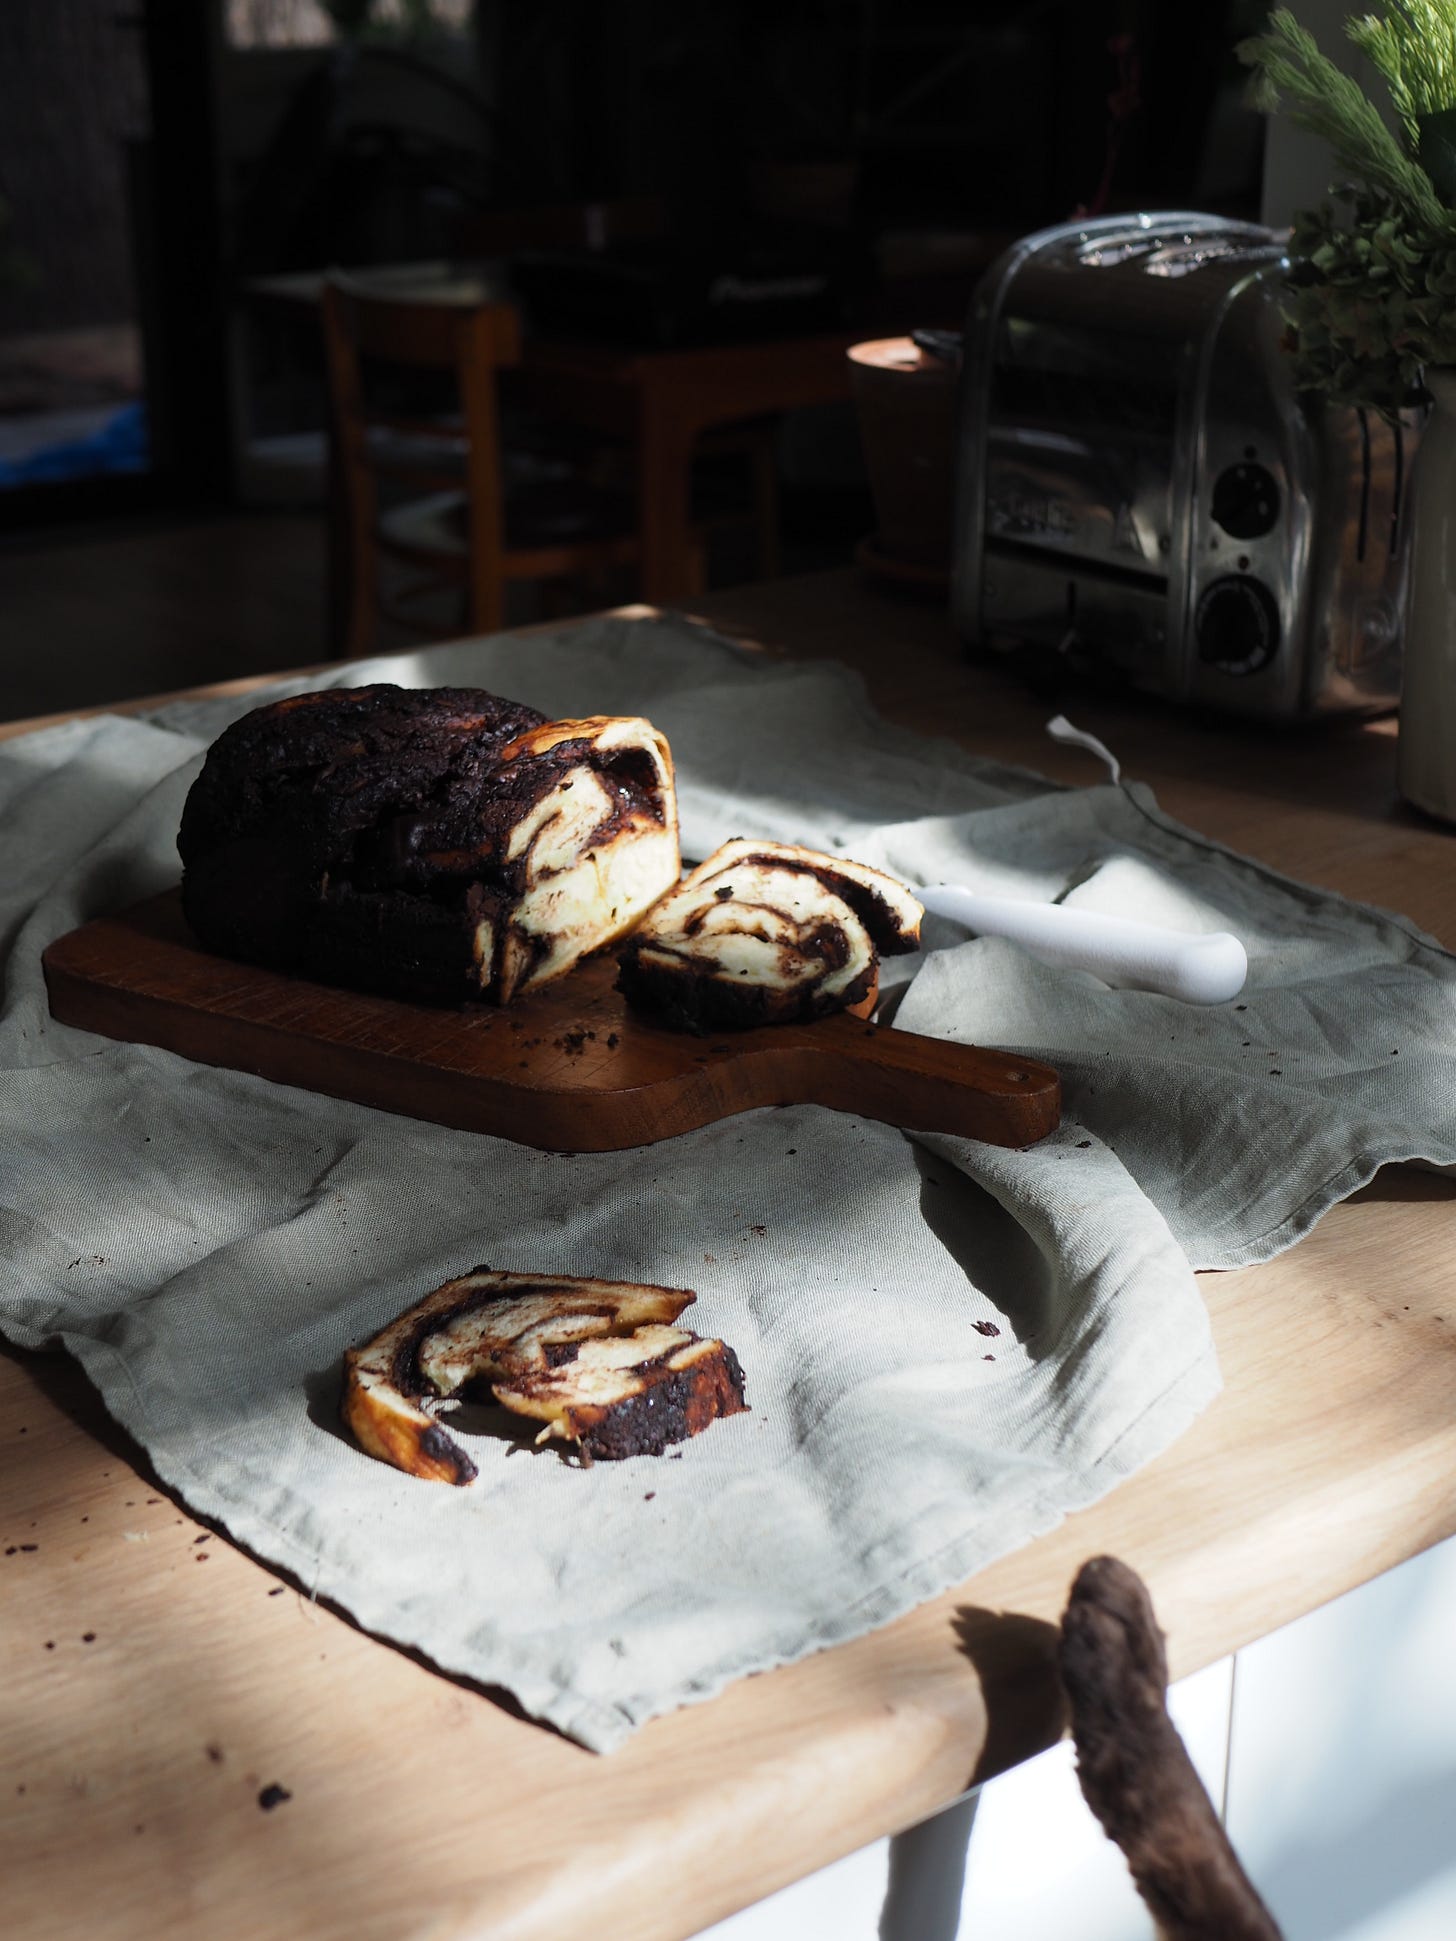
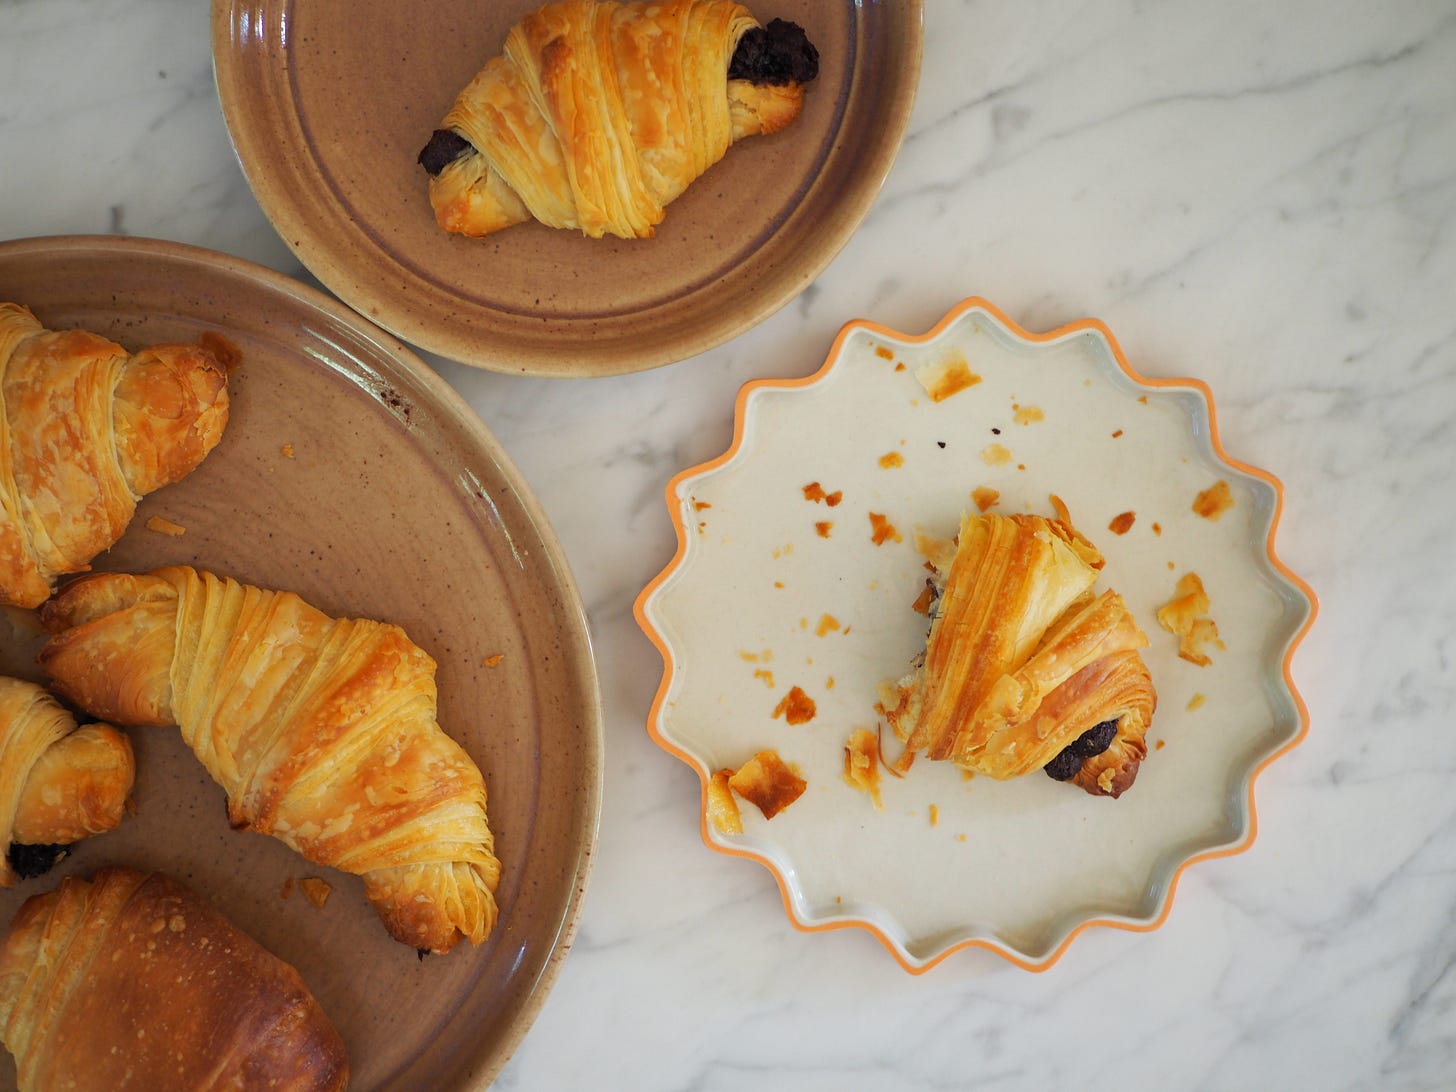
My intention for book no.2 is that it will take the tone and the approachability of Live Laugh Loaf and build on that with more recipes, more streamlined information, and lots of photos to help you imagine what the process and finished looks like (which I am taking myself and currently I have so very many of them to go through!). Of course there’ll be some illustrations by me in there too. I can’t wait to share more about that with you soon!
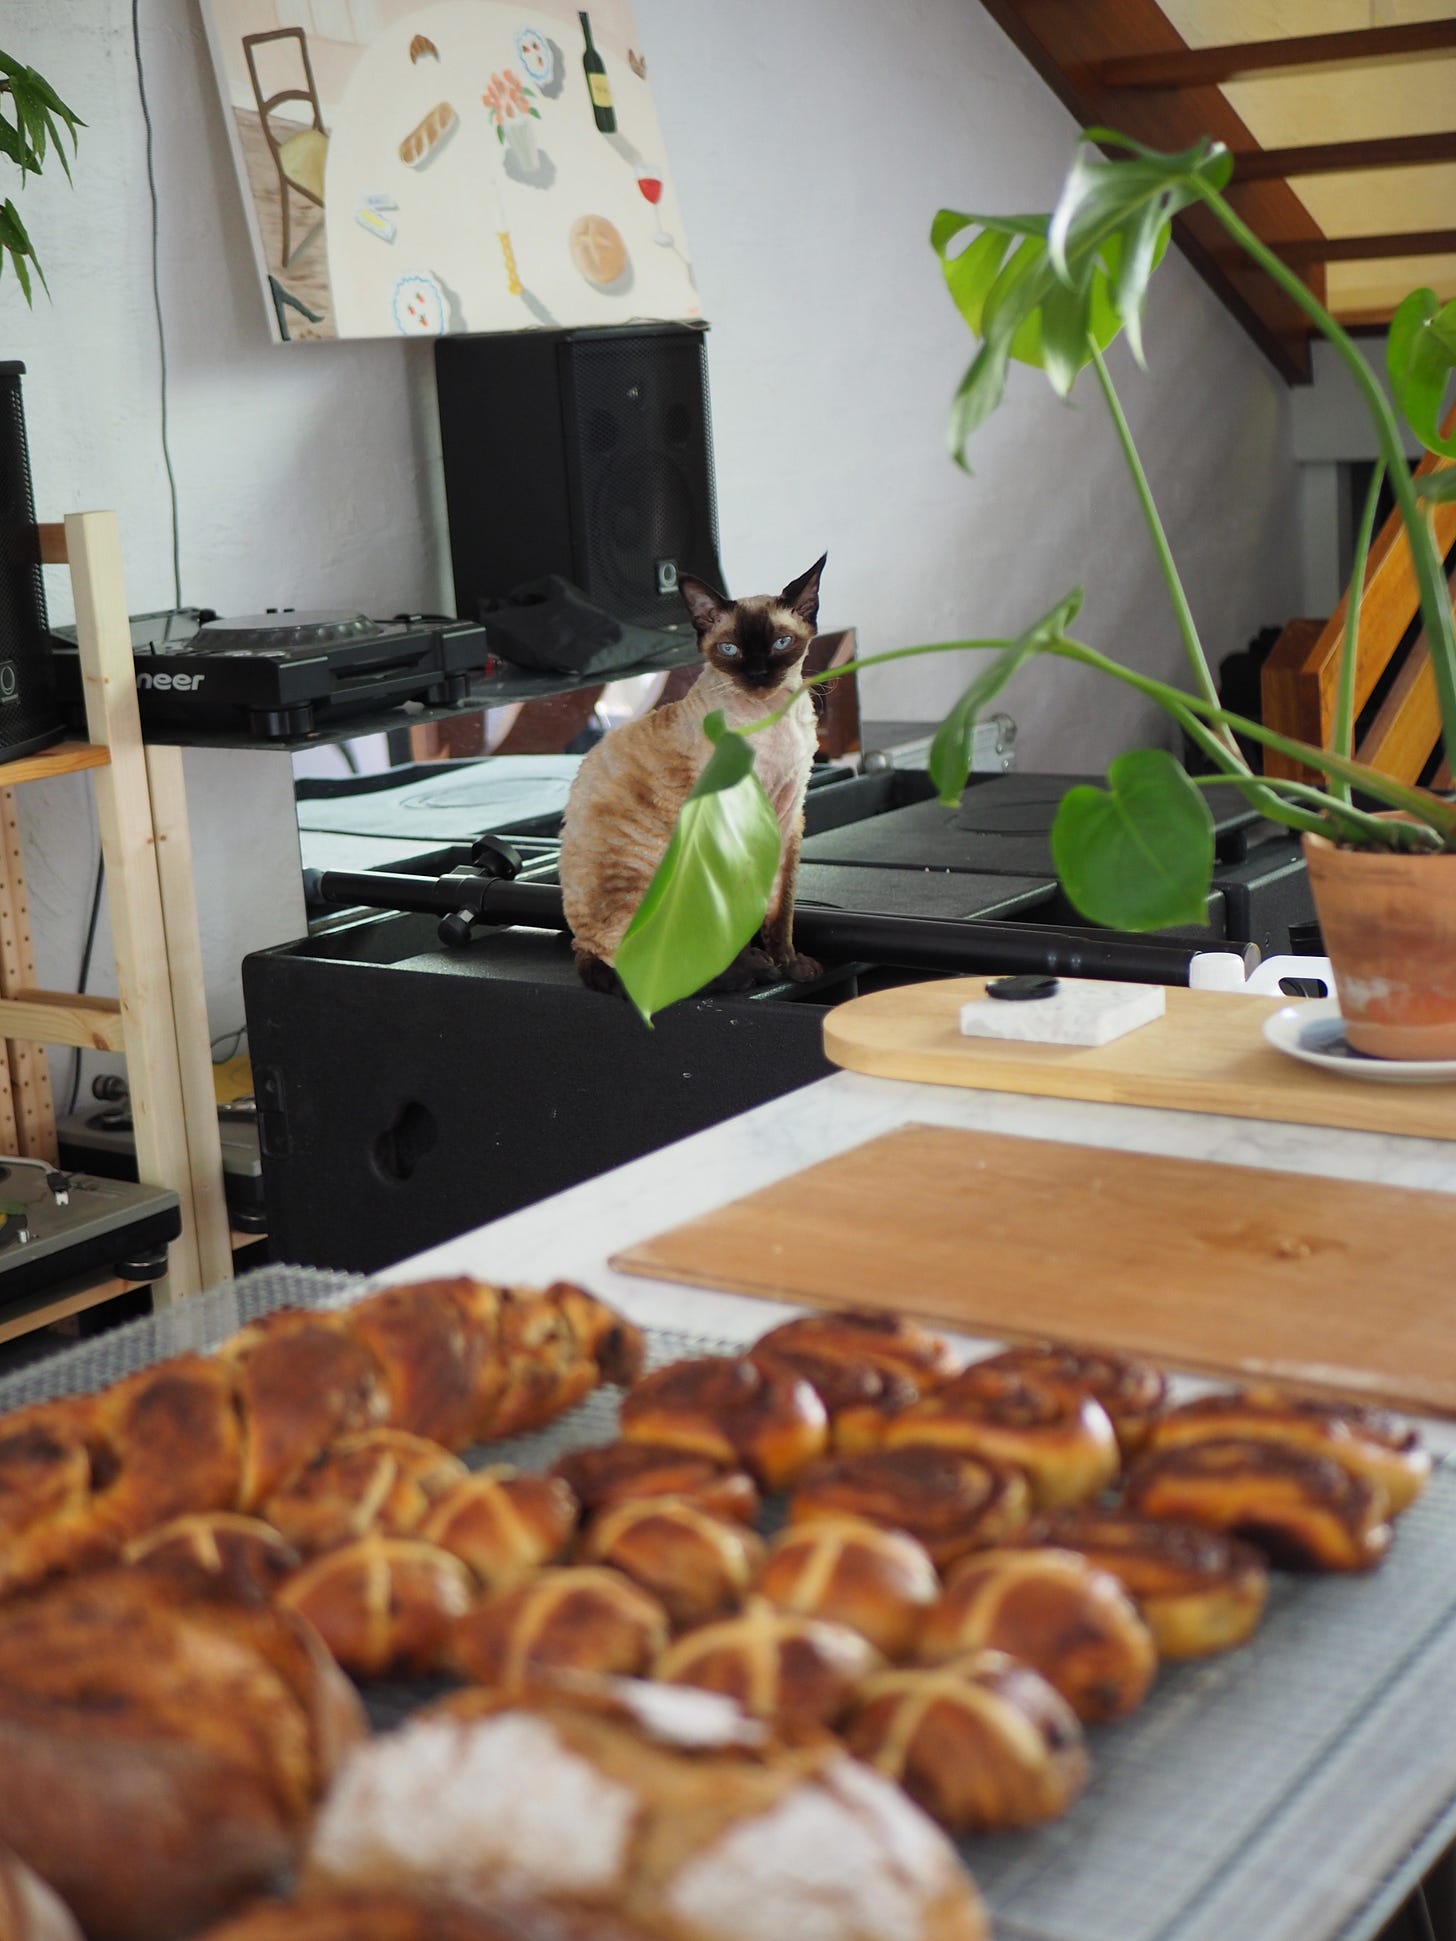
One thing I’ve especially been taking a lot of notes on is baking in humid weather, since it’s been a somewhat unusually humid summer this year. A short summary is that everything happens very fast, and that the bread can turn out to have a fair bit more sourness than when it’s not so humid. My starter has been really happy and it has been getting bubbly in 3-4 hours whereas in winter it might even take 12 hours and it wouldn’t get as bubbly as it has been in summer. During these warmer times I’ve mainly stopped using the backwards method and instead have been mixing my loaves in the early afternoon and then putting them into the fridge in the evening (about 5 hours later). This way they don’t overprove. Sometimes I also just shove the whole dough in the fridge and shape it in the morning if I can’t be bothered shaping it in the evening and that works fine too.
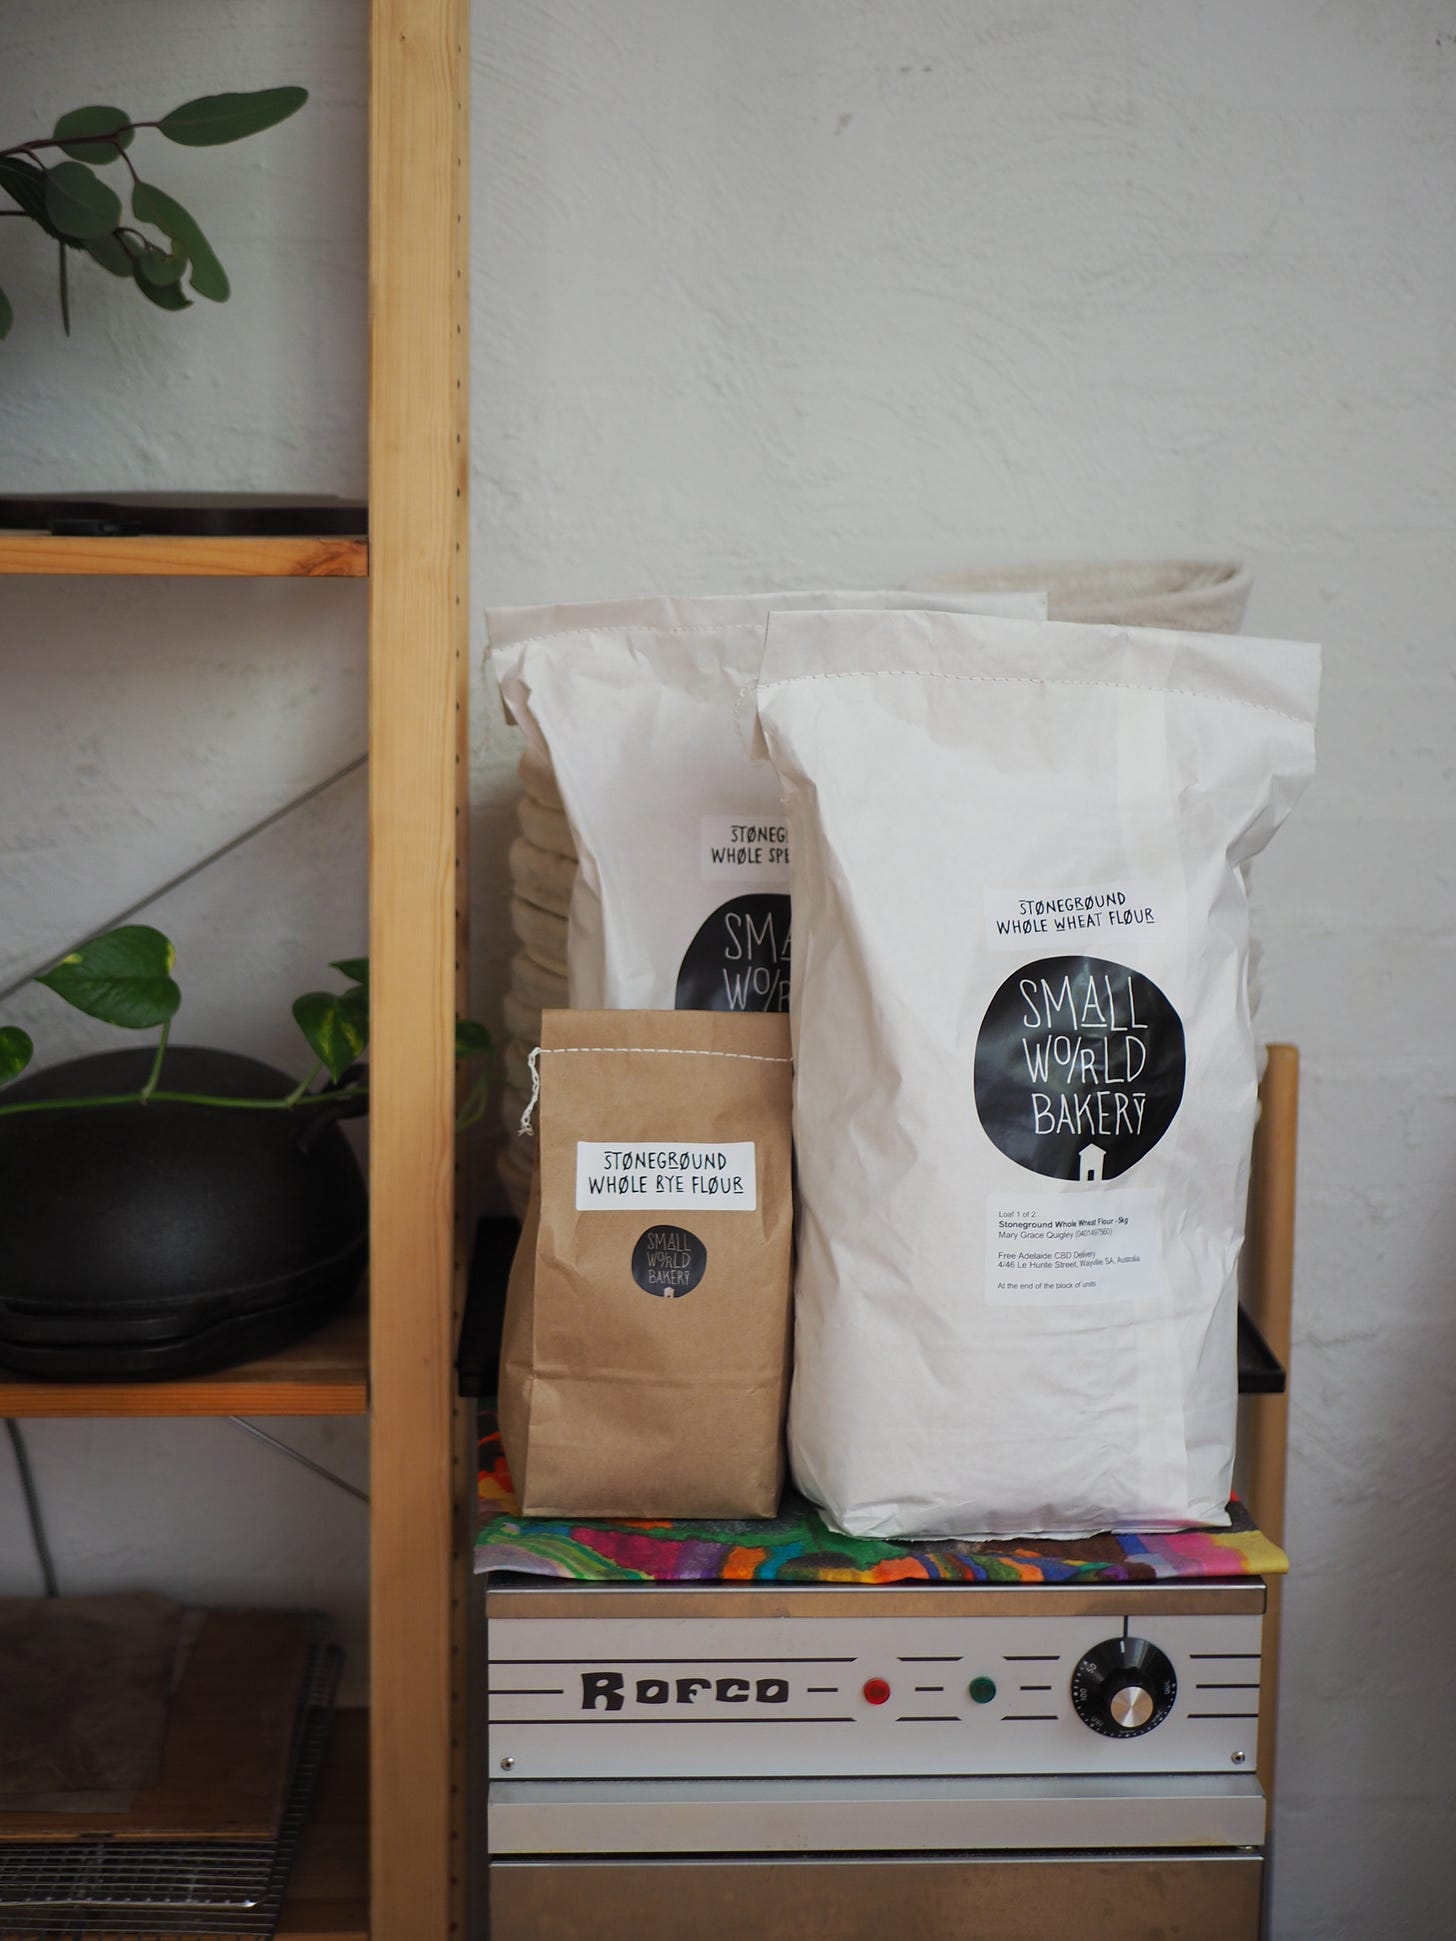
I’ve also been experimenting with freshly milled flour, from the lovely Small World Bakery. They are such incredible bakers and in addition, such genuinely lovely people. I can confirm that the freshly milled flour really does taste different! Last month I met with Emily (one half of Small World Bakery) to chat about flour as part of my research for book no.2 and it was a very eye opening conversation. For example, I learnt that wholemeal flour is usually simply white flour with the bran (outside shell of the wheat) added back into it later. And I learnt that the germ is removed from most commercial flour, but not from stoneground flour. It is the germ that contains the most nutrients, however it is also the germ that causes the flour not to be able to be kept for as long. So of course in most cases the germ is removed to increase the shelf life of the flour. It’s really interesting to learn – there’s always so much you didn’t even realise you didn’t know.
On a side note, I mentioned a few newsletters ago that I am working on a little book of haikus about bread. I just wanted to tell you, I haven’t forgotten about it. I’m slowly adding to it and waiting for the perfect time to share it with you. So many things to look forward to. One thing that I can never decide on is whether ‘sourdough’ has two or three syllables?! Anyway, here is a haiku about sourdough starter for you:
Feeding daily then
They want me to ‘discard’ you
How could I do that
Thanks for reading my unusually long newsletter (not unusual for me: everything I write is always long, but unusual for a newsletter). I hope it has given you some useful information and/or that you enjoyed looking at the pictures!
Don’t forget, if you’re feeling stressed just bake a little loaf of bread and it will make you feel a little bit better.
Talk to you next month.
Sincerely,
Mary Grace
And now, a recipe for you.
Rye frangipane galette with seasonal fruit
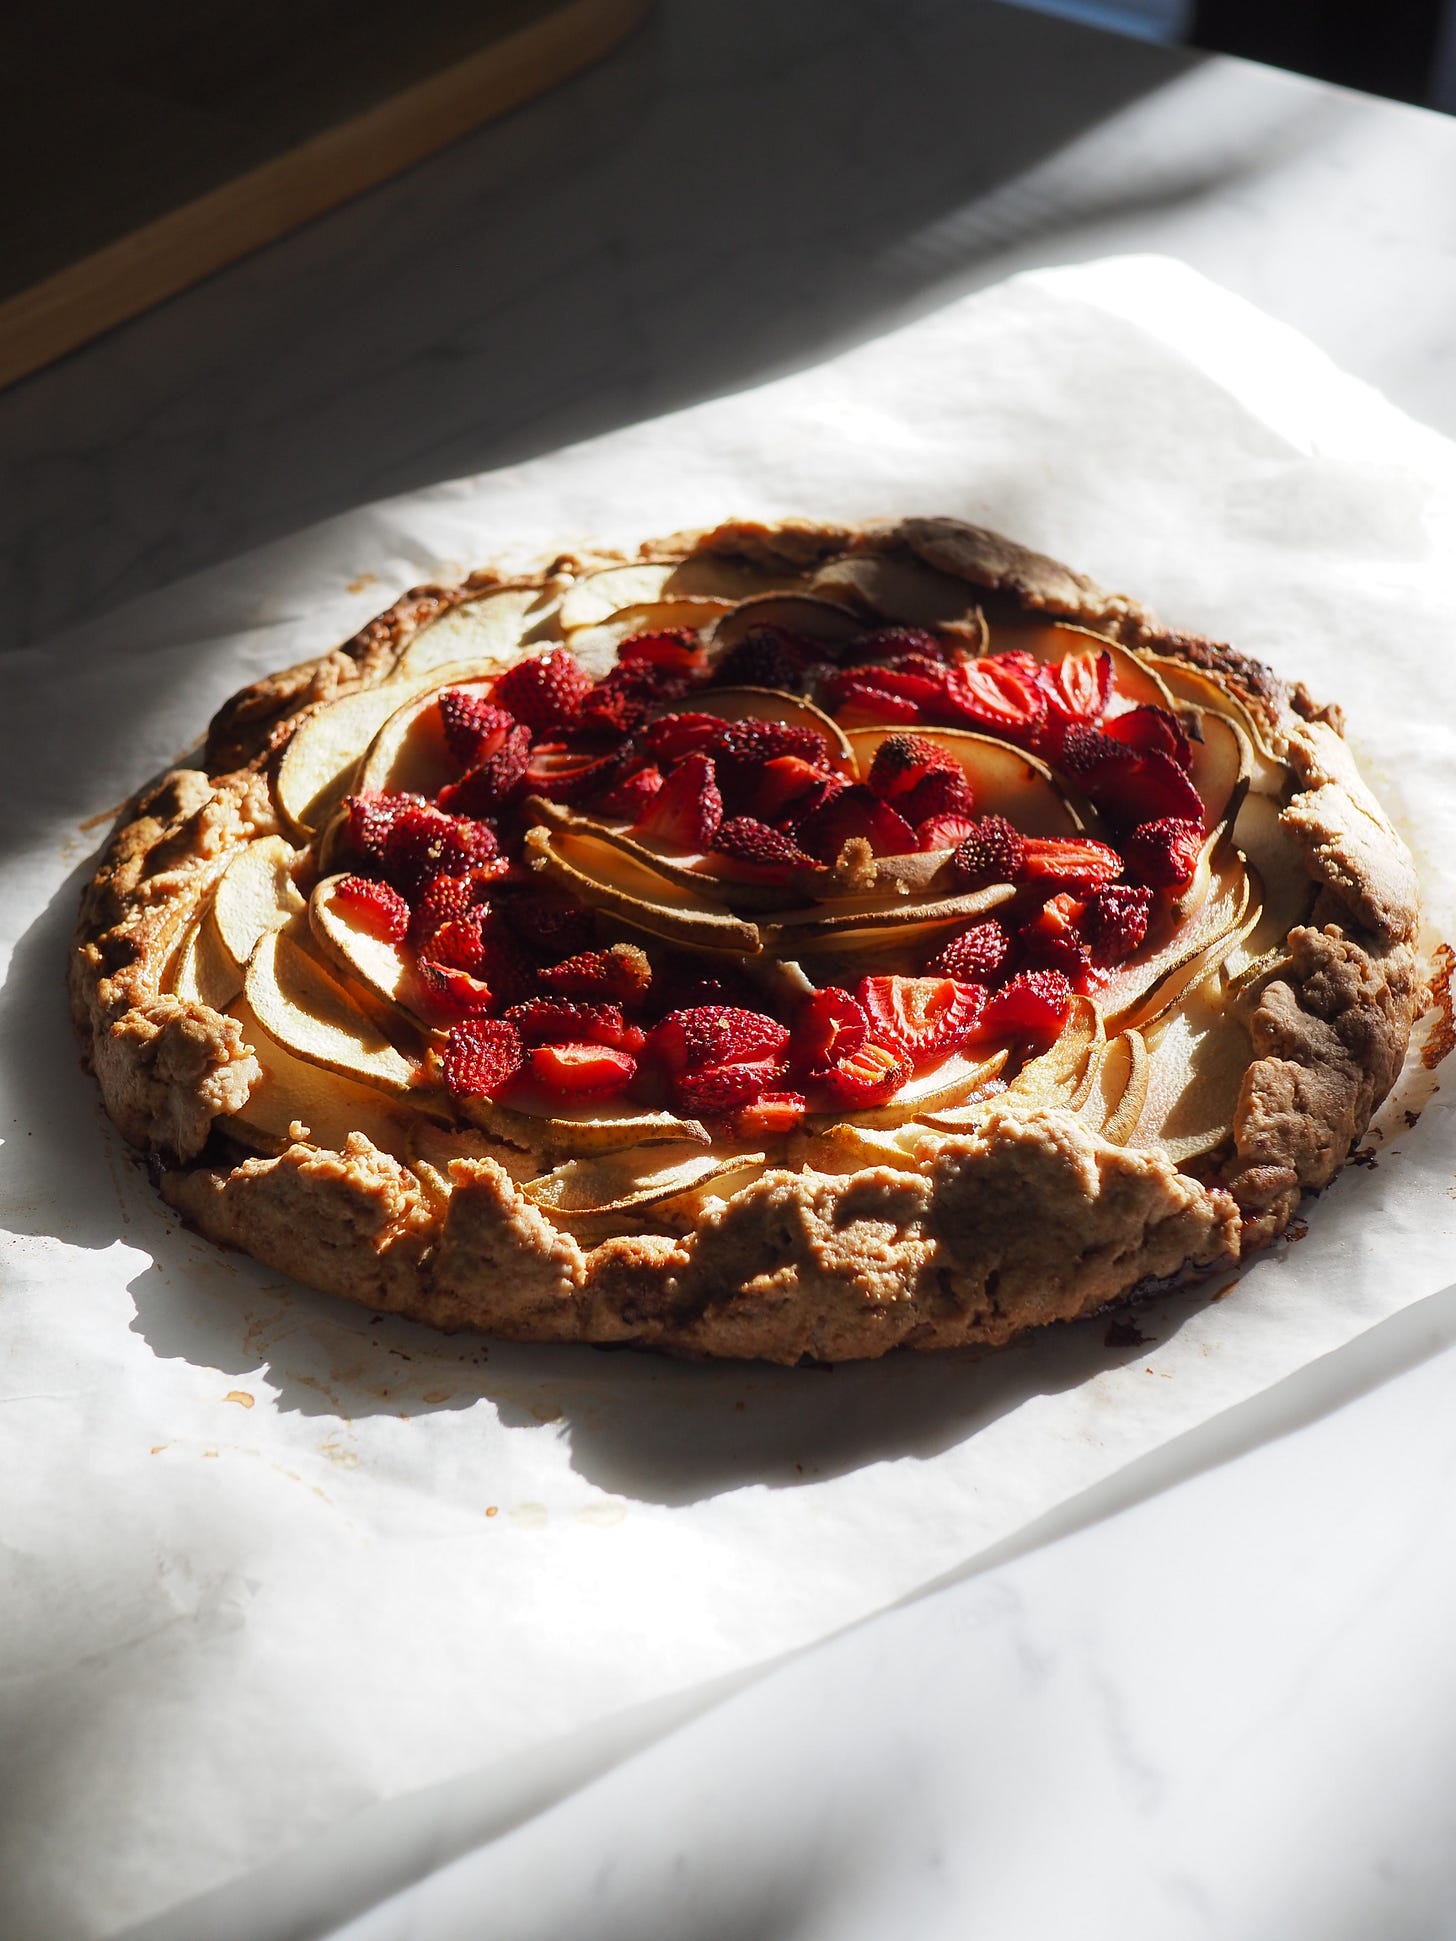
The recipe I am sharing with you in this newsletter isn’t actually for bread. It is for a type of galette. Galettes have intrigued me ever since I first discovered them a few years ago. So wonderfully simple, yet surprisingly difficult to do really, really well. Similar to bread, in a way. I would argue that it’s easier to get a really good loaf of bread but many of you will probably disagree with me there. Anyway, I have been baking many variations of this recipe, but this one with the rye base has been my favourite so far so I wanted to share it with you. I hope you enjoy it!
Ingredients
Dough
185g rye flour
110g salted butter (cubed, and cold)
3g salt (a pinch)
3g sugar (a pinch)
30g cool water
Frangipane
1 egg
70g white sugar
50g salted butter (cubed, room temperature)
70g almond meal
50g white flour
Topping suggestions
Nectarines, strawberries, pears, peaches or a mixture of all of them. Anything that is in season at the time will taste delicious atop this galette.
Method
1. First begin making the dough by mixing together the rye, salt, and sugar. Then add the butter chunks and water (you can add a tiny bit more if you need). Use your hands to mix together into a flaky dough. You can leave some chunks of butter, about the size of a pea is ok. I squish most of the butter chunks together with my fingers to help them break down a bit and mix with the flour. You can tip the mixture onto the counter and push it together using your hands to help it come together more. Try to work relatively quickly so that the butter doesn’t melt too much.
2. Once your ingredients are combined into a chunky (not smooth) dough ball, wrap the ball with glad wrap and place it into the fridge. Leave it for at least one hour.
3. While the dough is in the fridge make the frangipane by simply mixing everything (egg, butter, sugar, almond meal and flour) together in a bowl until it becomes smooth. Then you can place it covered in the fridge until the dough is ready to be taken out of the fridge.
4. Preheat the oven to 190 C (374 F).
5. Prepare your fruit by washing it and cutting it into thin slices. If you’re using strawberries you can just cut them in half. Some people like to coat their fruit with sugar before adding it to the galette but I’ve been skipping this step and adding the fruit to the tart without any sugar, and it’s been coming out really nicely. But you might like to add some extra sweetness, in which case brown sugar is a nice option.
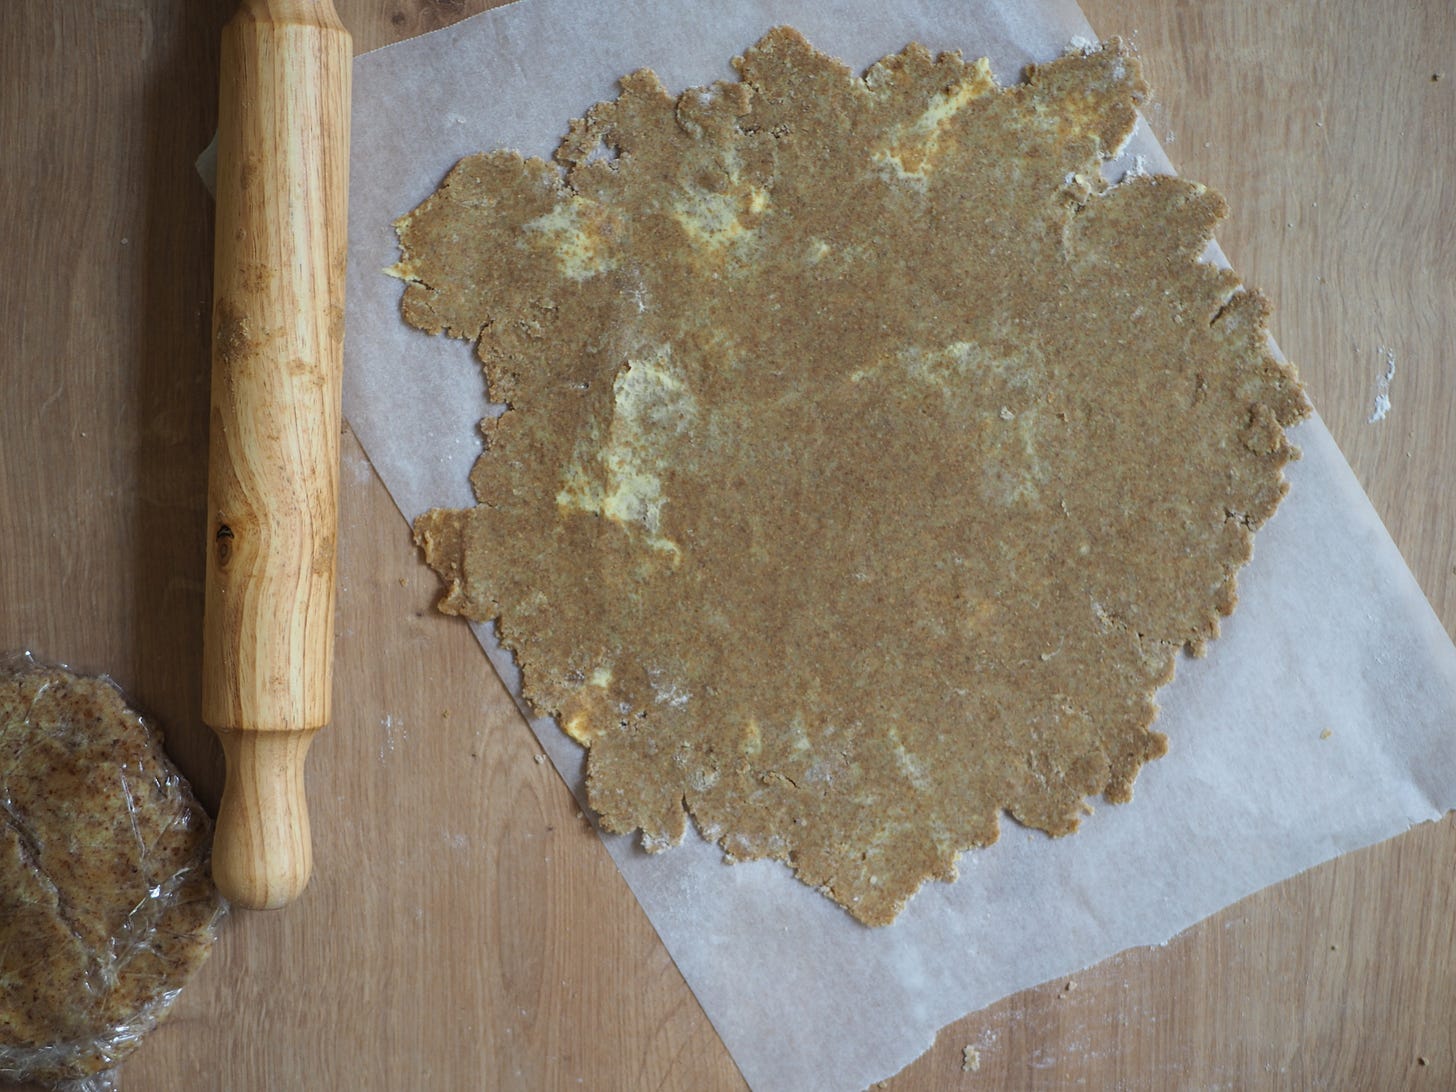
6. Get your dough and your frangipane out of the fridge. Leave the dough for a couple of minutes so it softens a little. Take a piece of parchment paper and lightly flour and roll the dough out into a circle about the same size as the oven tray. It doesn’t need to be a perfect circle. And the dough can be a little crumbly, that’s ok. Try to roll it as thin as you can, without it breaking – about half a cm (ish) thick. The thinner you can get it, the better.
7. Take your frangipane and spread it out over the dough leaving about 1cm of space at the edges.
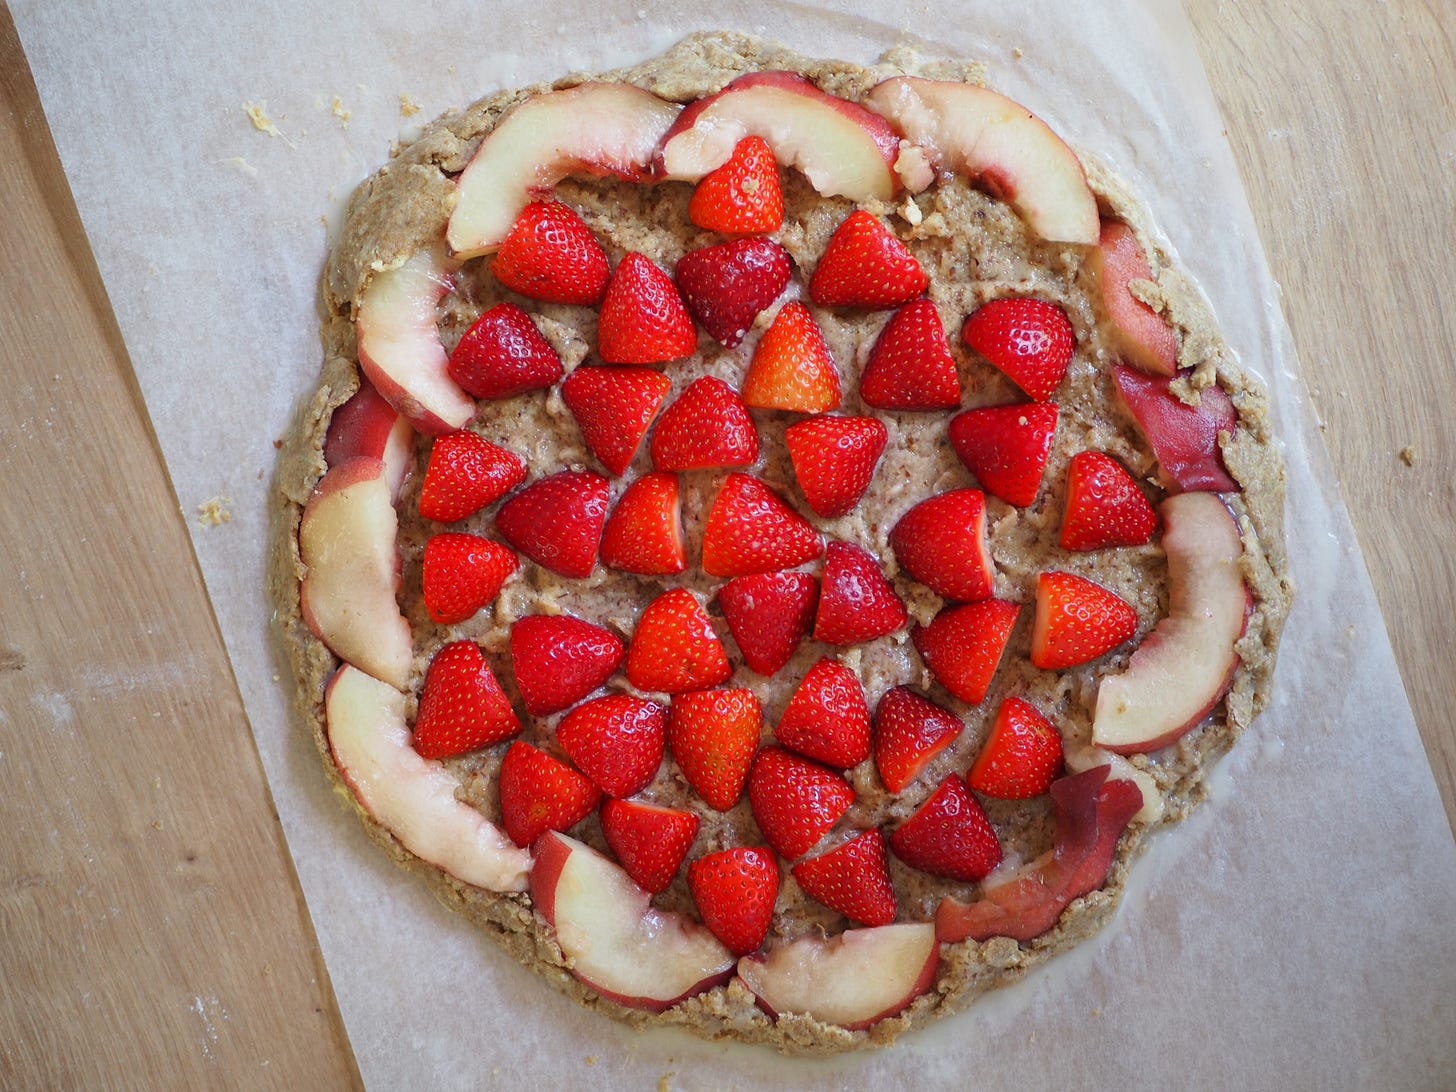
8. Layer your fruit over the top of the tart, covering the frangipane (if you don’t have enough fruit and some frangipane is still visible that’s okay too - for the one in the picture above I used one punnet of strawberries and 1 nectarine but next time I’ll endeavour to have more fruit). Then fold in the edges of the dough towards the centre to create a little crust.
9. Bake at 190 C for 50 minutes or until the edges are golden brown.
10. Let cool on a cooling rack and then enjoy this delicious, simple galette.
Thank you for listening to all my bread thoughts!
Mary Grace
<3 <3


