Dear bread friends,
Today I made some of my favourite recipes from Such Good Bread, my new cookbook, to help me decide which one to share with you in this newsletter.
This included sourdough chocolate babka, a super soft porridge loaf, vegan chocolate scrolls that my dad rang me up to tell me he really liked (if you’ve heard me talking about making bread for my dad, you’ll know this is a major milestone!), and a Nutella bomba inspired by treats I used to eat from a late night bakery near my old house when I was younger.
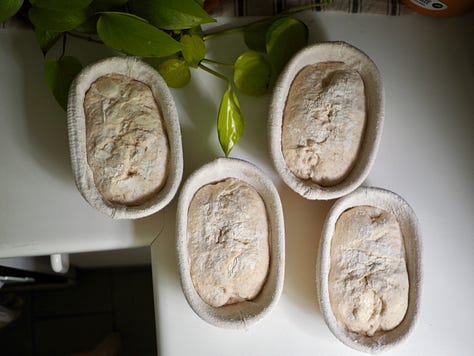
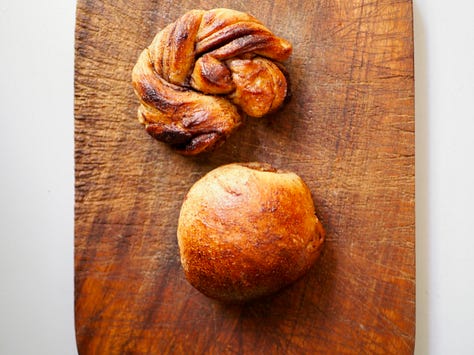
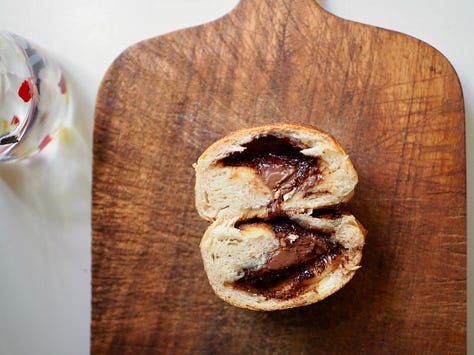

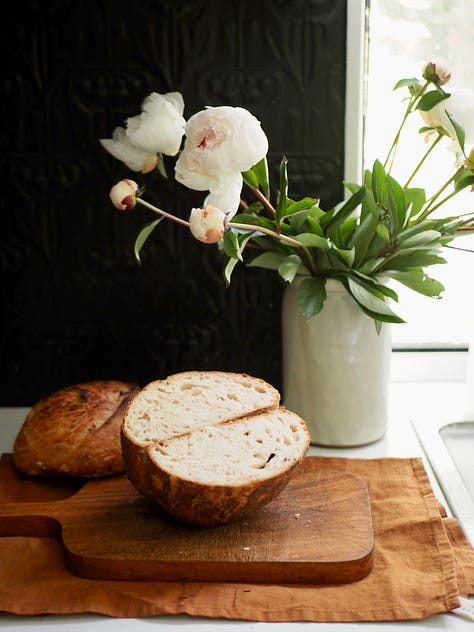
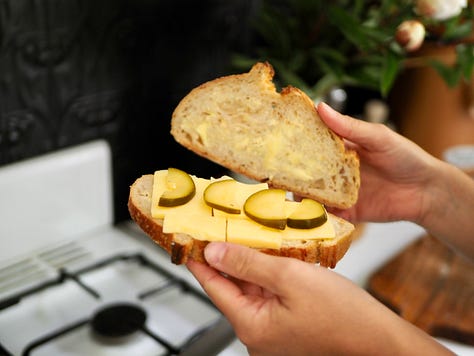
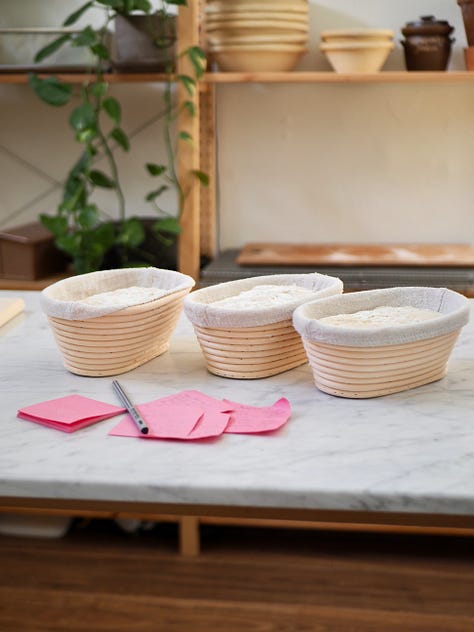

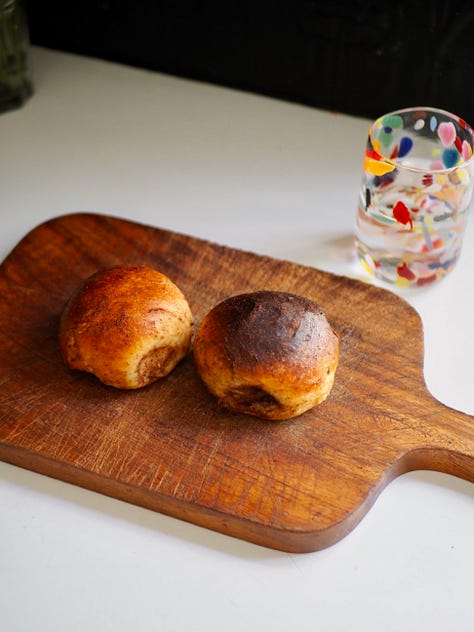
But on Friday night I had the pleasure of going on ABC Radio to talk to Sirine Demachkie about making buns. This was the second time I’d been interviewed on radio about buns and it made me realise: we need more buns and rolls! Especially coming up to Christmas, because buns and rolls are so perfect for sharing and there’s just something a little bit extra festive about a tiny loaf of bread.
So after much deliberation I have chosen my Backwards Brötchen recipe to share with you, because I think you might enjoy making them for friends or family around Christmas time.
Before I share the recipe, in slightly adapted form for this newsletter, let me give you a little update on the happenings since my last bread newsletter:
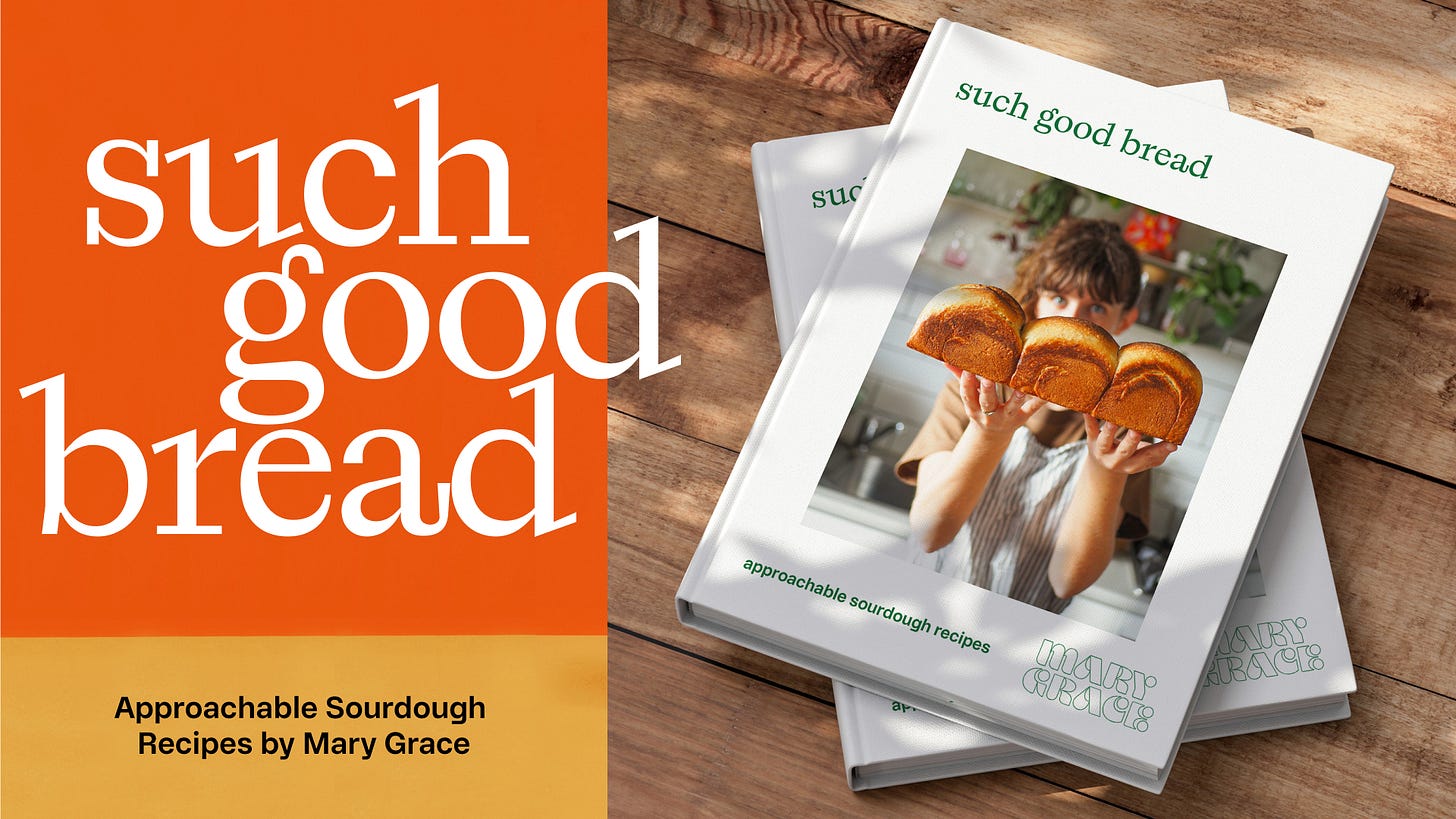
As many of you will know, last week I launched a Kickstarter campaign for my new cookbook Such Good Bread and we’ve already reached over 60% of the funding we need to finish and print the book! I’ve just been so completely blown away by the support and encouragement I’ve received! If you’ve already supported the project, THANK YOU SO MUCH! And if you haven’t seen the book yet, you can go and have a look here!
I know that Kickstarter perhaps isn’t so well known in Australia as it might be in the US: basically it’s a crowd funding platform that provides an amazing way for people to back exciting, creative projects of many kinds, in this case self publishing a beautiful, full colour, professionally designed cookbook. There are a range of ‘rewards’ that you can choose from if you decide to support the project. These include receiving an e-book copy of Such Good Bread, receiving a print hardcopy of Such Good Bread or even participating in a zoom Q&A session with me (and receiving the book too of course!) – all depending on how much you’d like to pledge towards the project.
In other news, I moved to a new house a little earlier in the month, I was unlucky to have to move to a new rental, but so lucky to have found a new place to live in amidst the really crazy rental market at the moment. You can see a little tour of my new place here (towards the end of the video).
Relatedly, I’ve been learning how to make longer form videos and slowly been posting them to my YouTube channel. More of these are in the works. I hope you enjoy them.
Finally, sometimes things are stressful. This week due to some family stuff, I needed the little grounding reminder that things will be okay, and I made a video about it in case anyone else was needing that same reassurance.
Thank you, as always, for reading my bread newsletter and for being a part of this lovely, kind bread baking community we’ve built online!
I hope you enjoy the Brötchen (little breads // bread rolls), please do let me know if you make them! I LOVE to see your breads, especially when they’re little!!
Mary Grace
Backwards Brötchen (bread rolls)
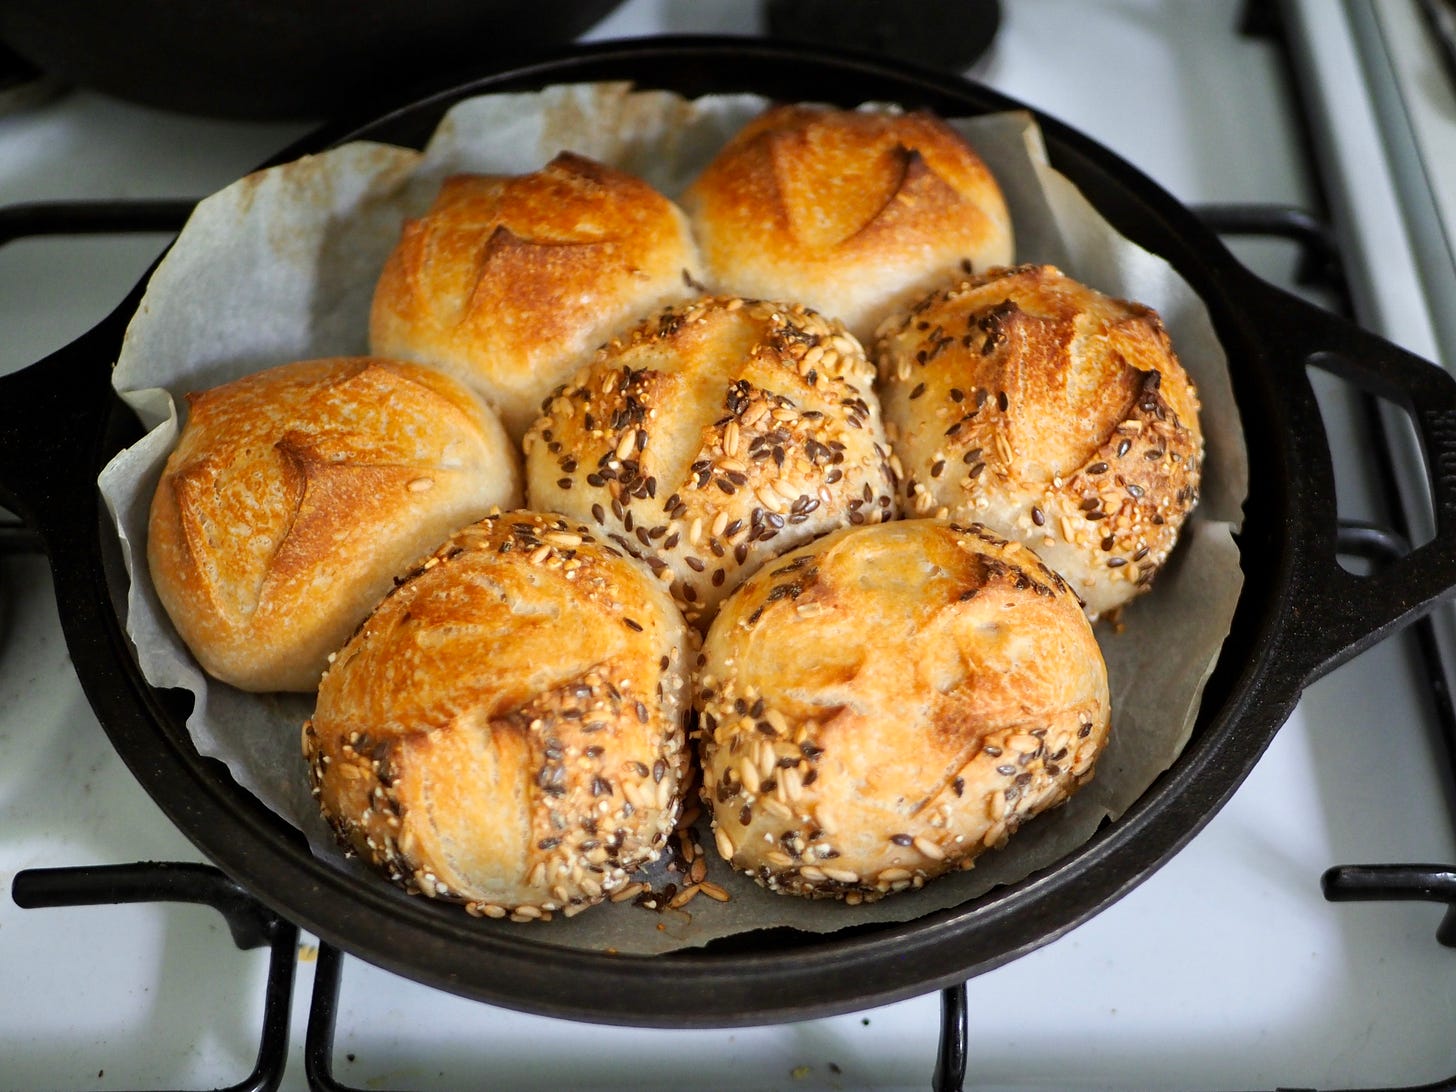
If you have been following my bread journey on social media for a while you will know about my love of bread rolls, possibly, mainly because of my love of the German word for bread roll: Brötchen which is composed of ‘Brot’ = bread and ‘chen’ = little, so a little bread. And these really are little breads. They look astoundingly similar to their larger cousins, normal 750g loaves, but they’re just so small and cute.
And you may wonder why are they ‘backwards’. The Backwards Bread Method is something I use when I want to make bread but I don’t have enough time to ‘look after’ the dough by giving it hourly folds e.g. because I need to sleep, or work. You mix your dough, give it one fold, and then abandon it on the counter. Then you just shape it and bake it about 10 hours later.
It sounds too good to be true, I know, but I promise, it’s not!
Makes:
7 bread rolls
Timing:
Process over two days (evening-morning, but only approx. 1.5 hours of active work during that time)
Ingredients:
80g active, bubbly sourdough starter
8g salt
20g olive oil
240g filtered water
400g bakers flour
Day 1: Mixing the dough
1. Mix together sourdough starter, salt, olive oil and water in a mixing bowl using a dough whisk or a wooden spoon.
2. Add the bakers flour and continue to mix. As the mixture starts to come together, you can switch to mixing with wet hands. Keep going until a shaggy dough forms and no dry flour is visible. Leave covered with a wet tea towel for about 30 minutes.
3. After about 30 minutes, give the dough a fold of your choice. My choice is usually a few coil folds. Fold the dough until it becomes smoother and more cohesive, then return it to the bowl and leave covered with a wet tea towel for approx. 9.5 more hours (now you can go to bed and the dough will do its work while you sleep). See notes on temperature below for help with timing.
Day 2: Shaping and baking
1. The next morning, after about 9.5 hours, tip the dough out of the bowl onto a lightly wet workbench. Using a bench knife, divide the dough into 7 approx. 110g pieces.
2. Shape each piece into a ball, just like you would with a larger loaf by pulling the edges in towards the centre and going around and around until the dough becomes tight. Then flip it over so that the smooth side is on top and use your hands to smooth it further.
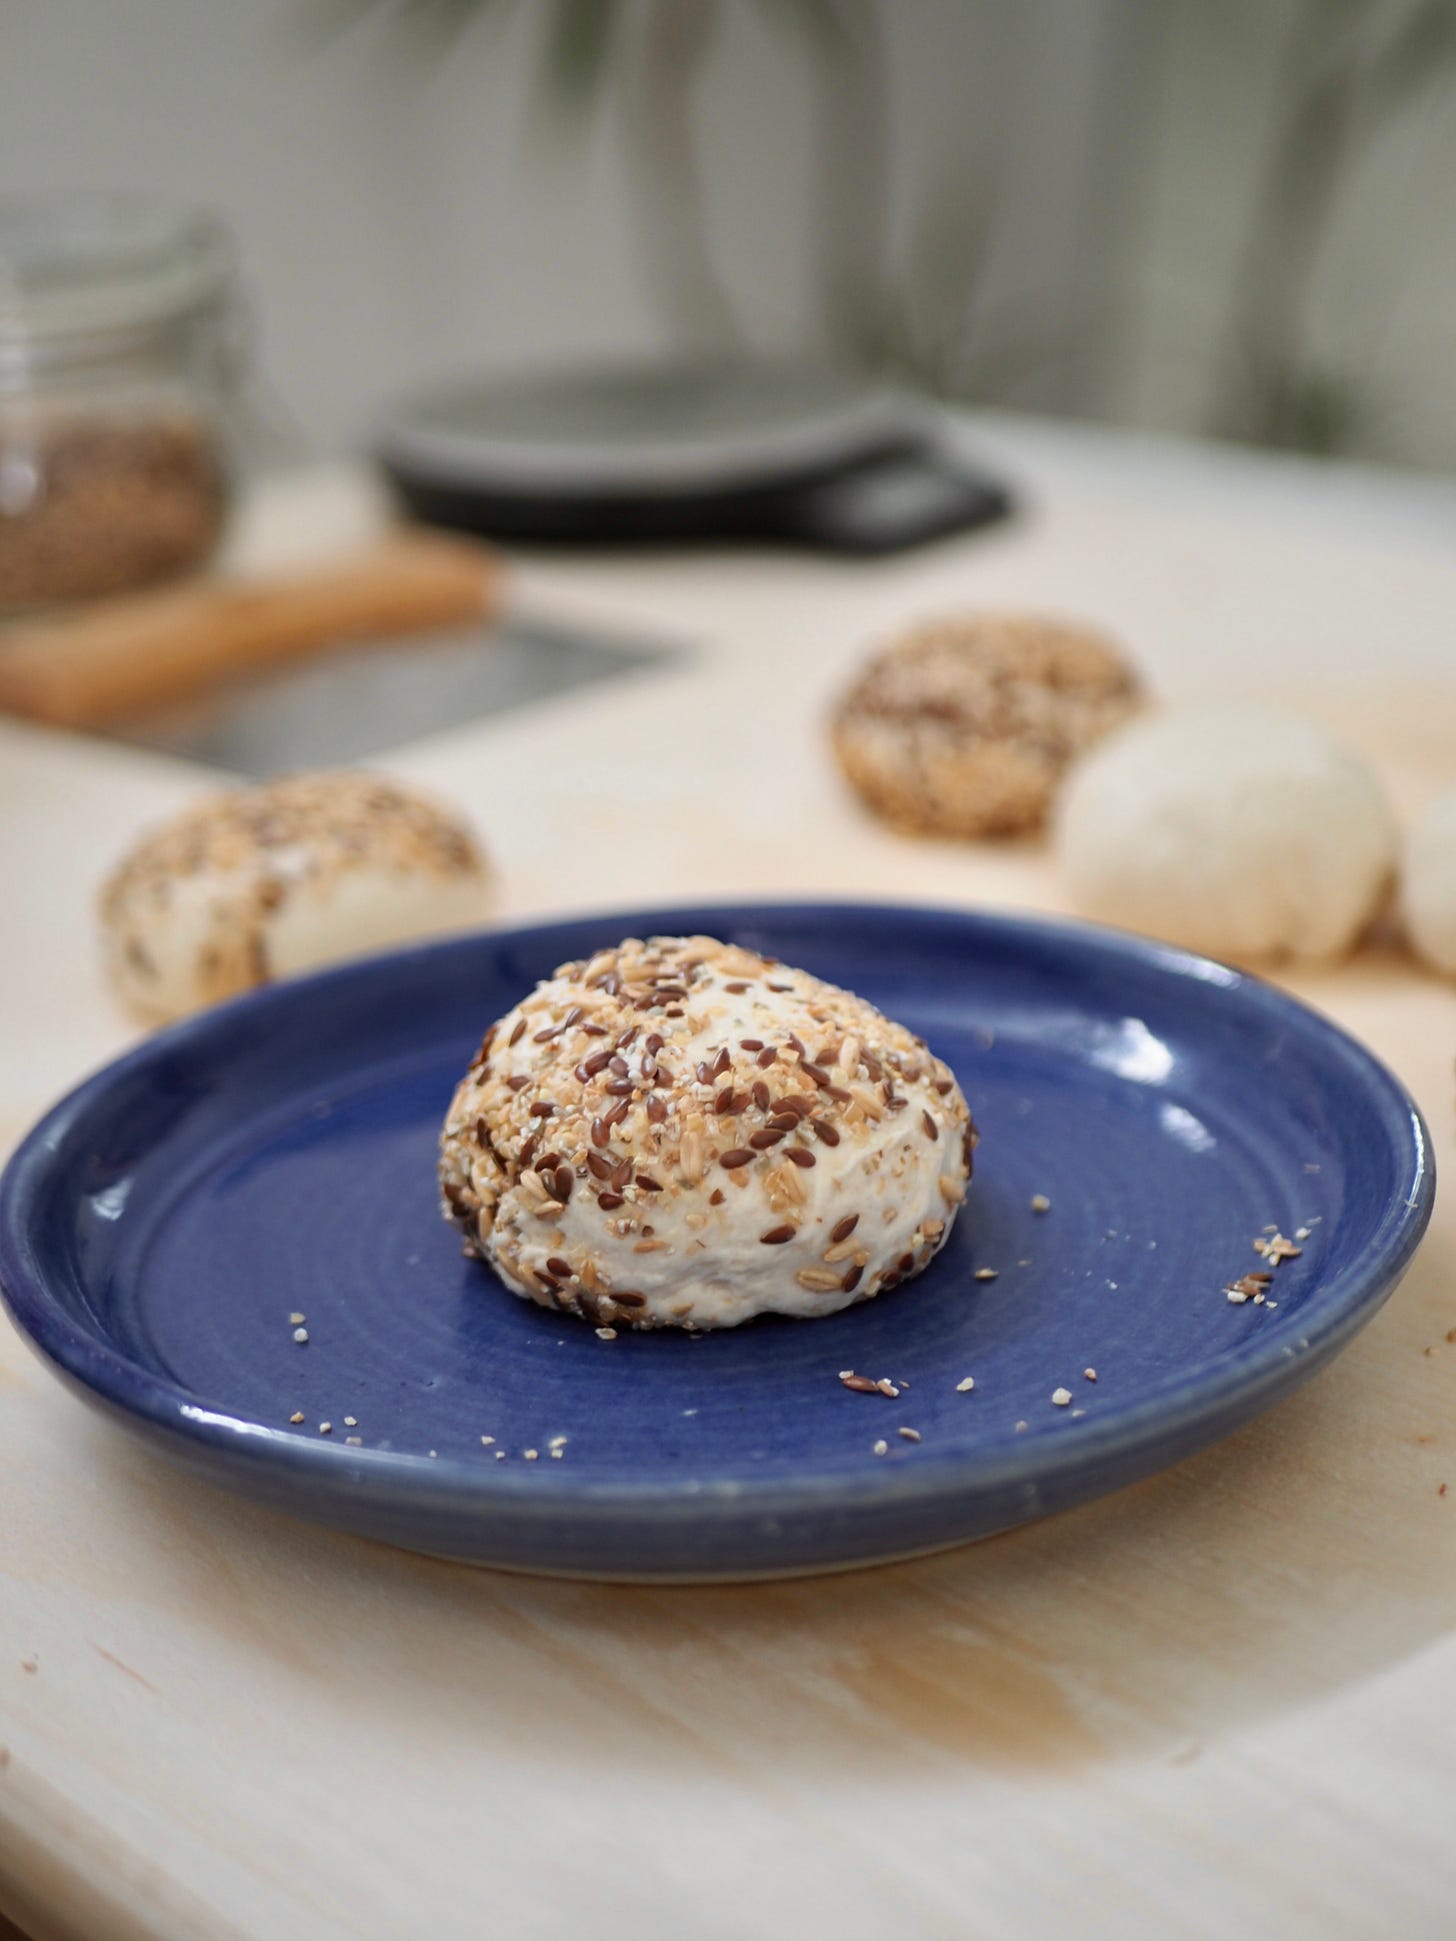
3. At this stage if you want to, you can dip the dough ball into some seeds e.g. sesame, linseed or sunflower, or you can leave it totally plain. For seeds, simply spread a few tbsp of seeds (I used Wallaby multigrain mix for these) onto a plate and roll the top side of your dough ball in the seeds so that they stick.
4. Dust the dough balls with flour, including on the bottom.
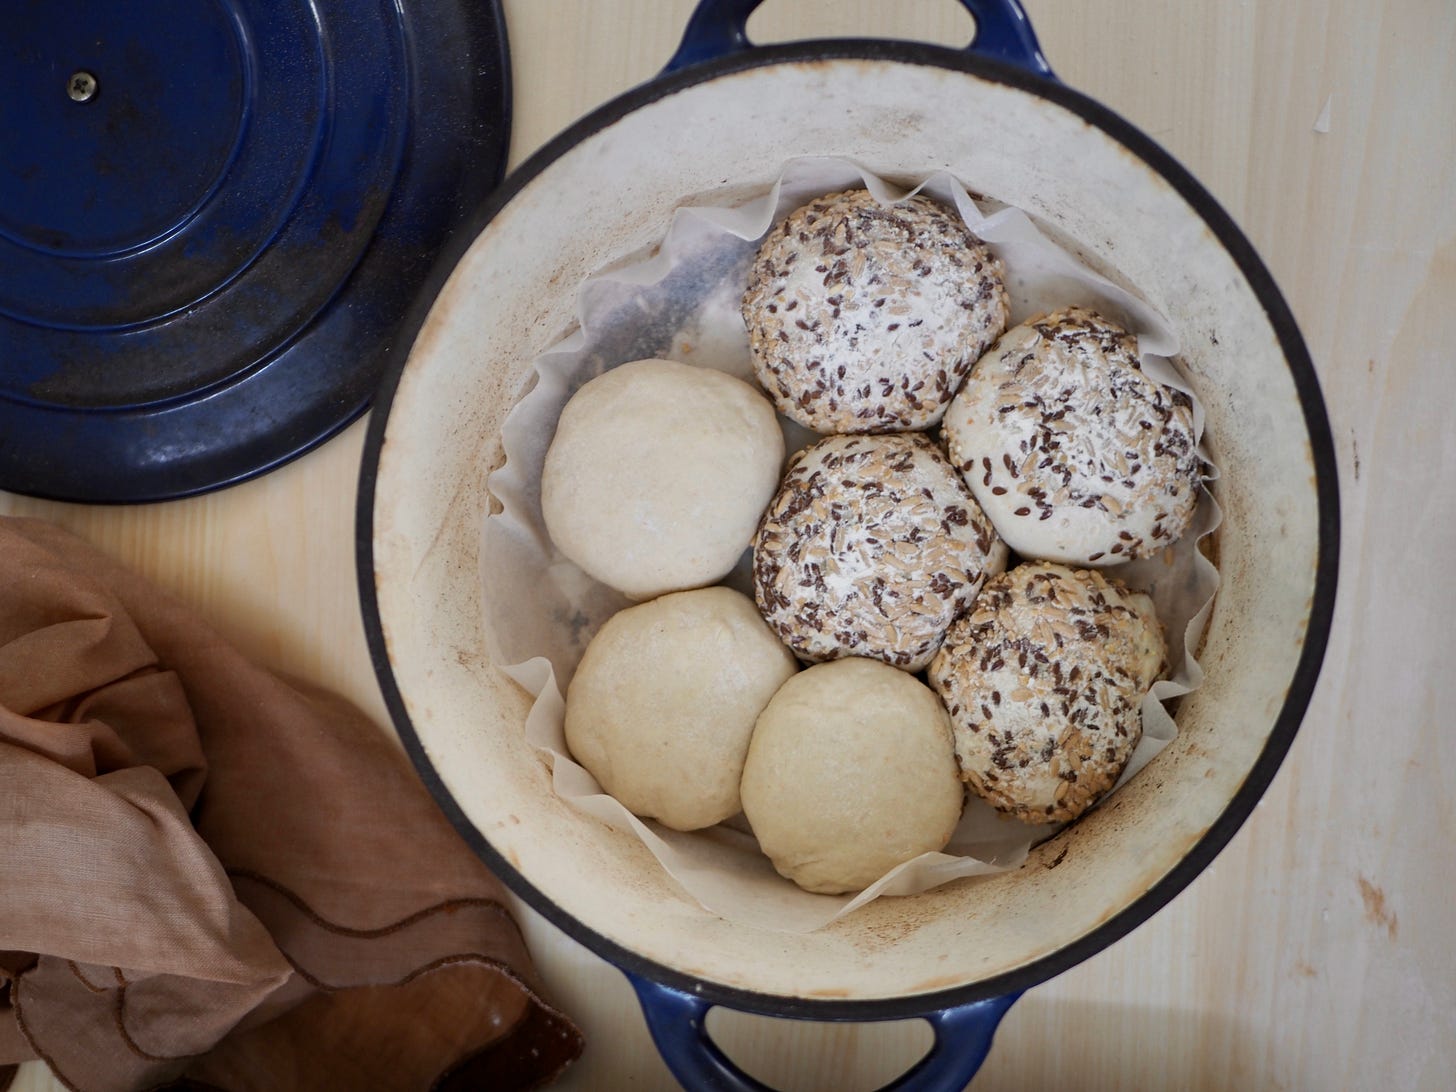
5. Take your (still cold) Dutch oven and cut a round piece of baking paper to the size of the Dutch oven so that it will fit inside and go slightly up the edges. Place it inside your Dutch oven and put your balls of dough in there too so you can work out a nice way to arrange them. It depends a little on the size and shape of your pot, ideally you want to arrange them in the centre of the pot so they’re not touching the edges of the pot too much. It’s okay if they touch each other: they will be lovely pull apart rolls. Once you’re happy with the arrangement, lift the paper together with the dough balls up, out of the Dutch oven and place onto a plate, cover and put into the fridge.
6. Now put your Dutch oven into your oven and preheat it to 230C for 45 minutes.
7. After 45 minutes when your oven is fully preheated, remove the Dutch oven from the oven. Take the dough balls out of the fridge, still nicely arranged on the parchment paper, score a cross into each one, and then drop them, still on the paper into the Dutch oven.
8. Use a little water bottle to give a few sprays of water to the dough and then put the lid on and return the Dutch oven to the oven.
9. Turn the oven down to 220C and bake for 20 minutes.
10. After 20 minutes, remove the lid from the Dutch oven and continue baking for another approx. 20-30 minutes. This time will vary depending on your oven. Keep checking on them every 5 minutes after 20 minutes and take them out when they are golden brown, to your liking.
11. Allow them to cool and then enjoy as a nice lunchtime snack, or a beautiful accompaniment to a festive meal.
Notes:
The timing suggested in this recipe works really well up to about 23C as an overnight temperature. If it’s summer and/or very humid where you are, you can try reducing the starter in the recipe by half and cutting the timing to about 6 hours. This should stop the dough from developing too much before you bake it.
If you want to start making these in the morning and bake them in the evening, of course that’s also a great option.
Once you’ve shaped the dough balls, you don’t have to bake them straight away, you can leave them in the fridge for up to 12 hours (or really up to 2 days, depending on your fridge temperature, which would be ideally 4C or below).
If you don’t have time to shape the dough into balls right away you can also put it in the fridge for a bit and shape it later when you have time.
If you don’t have a Dutch oven, you can bake these using two deep trays. Place the dough balls in one tray and place another tray on top to act as a lid, serving a similar function to the Dutch oven, which keeps heat and steam in. This is also a good way to make the bread rolls if you don’t want pull apart style rolls because you can spread them out more.
This recipe and images used are adapted from what will appear in the book. I hope it gives you a feeling of what you can look forward to :)
Thank you for reading,
Talk soon!



Oh Mary Grace, these lovely little breads and rolls will be wonderful gifts for my neighbors this Christmas (assuming they make it out of the house without me devouring all of them first). So happy I happened upon your videos on YouTube and then looked you up on IG. You are a delight and a beautiful ray of sourdough sunshine.
Sending love from Virginia, USA.
I always see food through eyes of healthy sides, but some receipe send me in a dreaming land. They look delicious Mary Grace.