

Bread newsletter no.12

Dear bread friends,
I’m sharing one of my most favourite creations with you today. I made these extra seed filled loaves, named ‘Seed Bomb’ a little while back and shared the full process of making them via my Instagram stories (saved here in my highlights). Many of you have sent me beautiful pictures of your versions of the Seed Bomb loaf and I’ve loved seeing them become a new favourite. So, I thought they definitely deserved a full write up in my newsletter!
Amidst the chaos happening in my personal life this year, I’ve found IG stories are my favourite way to keep sharing bread with you. It’s so easy for me to upload these little videos directly from my phone without having to sit and edit them on the computer. I have been calling it ‘bread TV’. You get to see the full process of making a loaf from mixing, to folding (maybe! If I can be bothered to do any folds), to shaping and baking! I think you can learn a lot from seeing the process in this much detail – in fact I’d love to watch someone else do the same thing and see what they do differently from me!… Are there any other accounts who do something similar?
Yesterday I posted my first reel in a little while, in which you get to see the full process for the Seed Bomb loaves in under a minute!


It’s also been a little while (again) since I last wrote. I had surgery for endometriosis which really knocked me around (see my story highlight about it here) and I’ve just moved house (for the 5th time in 4 years), fingers crossed it’s the last time for a while now. I’m hoping this is the beginning of a new more easy going chapter of my life, and one in which I’ll be able to share many more videos and recipes with you . I have a lot of baking footage stuck on a hard drive, waiting to be edited. And so many recipes and ideas stuck in my head, waiting to be baked. And my book Such Good Bread is just about to be sent off to the printer. Good things are coming :))
Talk soon,
Mary Grace

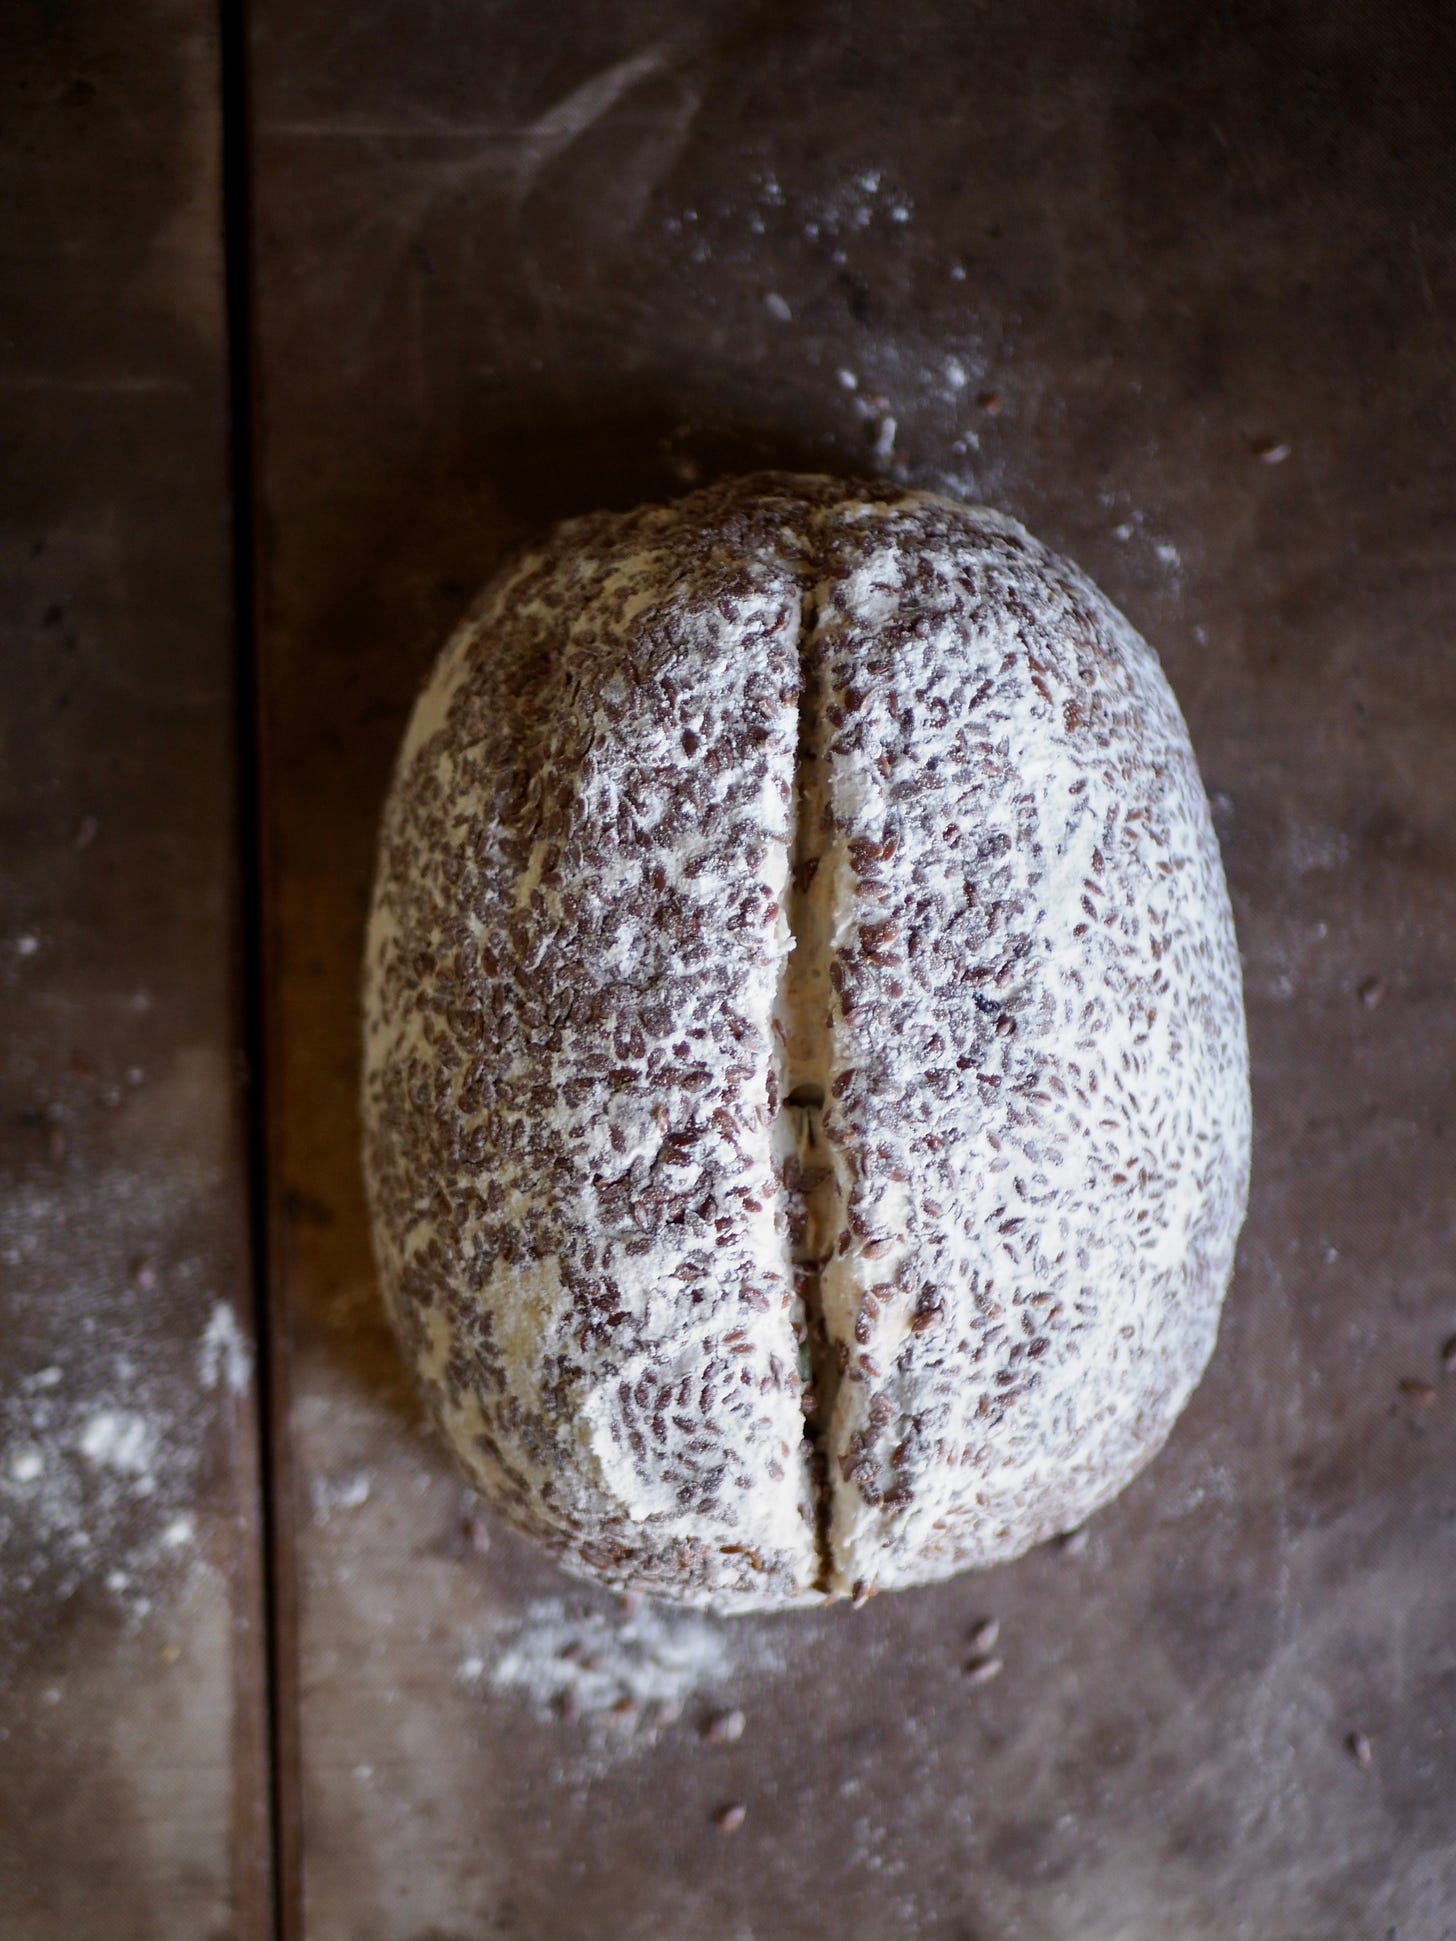
Seed bomb loaf
Too many seeds isn’t a thing, but on this day I decided I had too many seeds in my cupboard and I wanted to use up as many as possible (while still keeping the numbers in the recipe divisible by three!), and so came to life the Seed Bomb loaf. There’s lots of seeds inside, and even more seeds on the outside!
You have the option to make just one loaf, or to make 3 if you perhaps fancy giving one or two of your loaves away to your favourite person/people.
Ingredients
For 1 loaf
70g sourdough starter
8g salt
40g sunflower seeds
20g flax seeds (plus more for the crust)
30g pumpkin seeds
300g filtered water
130g wholemeal flour
270g strong white flour
For 3 loaves
210g sourdough starter
24g salt
120g sunflower seeds
60g flax seeds (plus more for the crust)
90g pumpkin seeds
900g water
390g wholemeal flour
810g strong white flour
You’ll need x2 Dutch ovens and x1 bread tin if you would like to bake 3 at once. You can also make the dough and leave it in the fridge for about 4 days, so you can bake it as needed throughout the week.
Method
Making the dough
Prior to making your loaf, make sure you have bubbly sourdough starter ready to use. I like to feed mine a day or two in advance, let it rise and then put it into the fridge while it’s still bubbly to ‘pause’ the process. Then I use it whenever I’m ready to make my dough.
To make the large amount of starter for 3 loaves take 40g of starter and put it in a large jar. Then add 100g of flour (wholemeal, rye or white, or a mix) and 100g of filtered water. This will give you what you need plus a little bit left over.
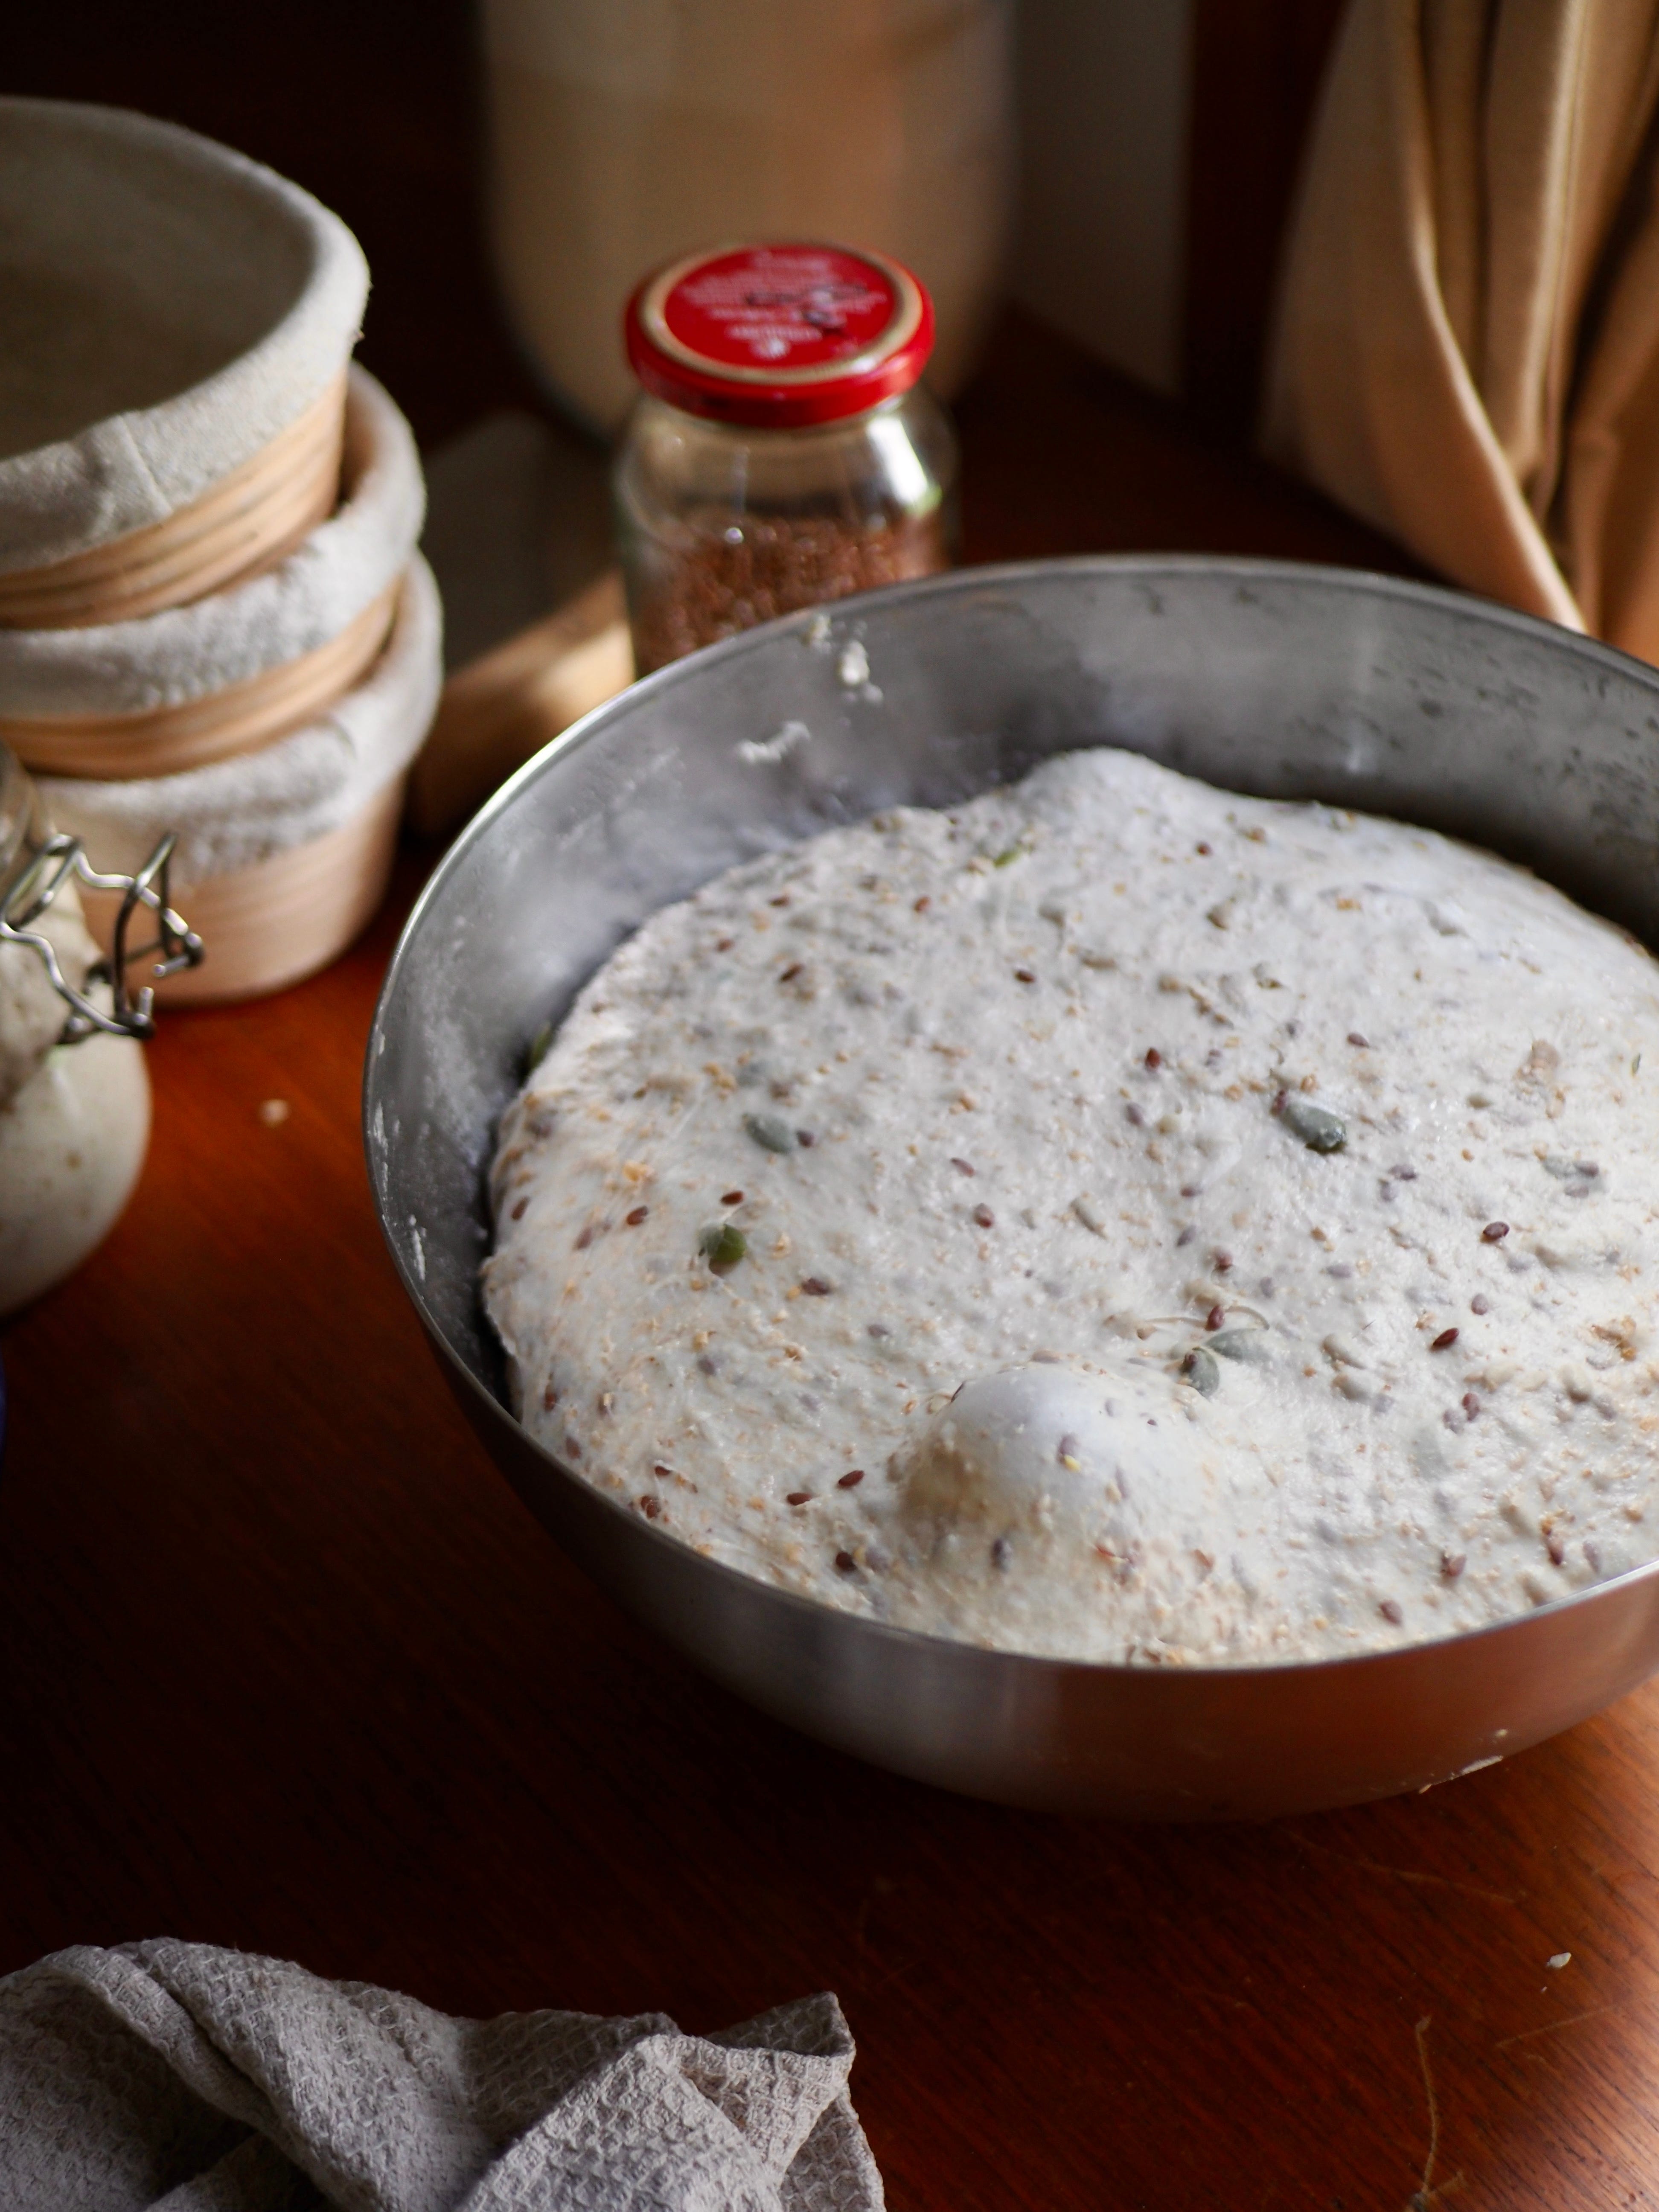
To make the dough, in a large mixing bowl combine sourdough starter, salt, sunflower, flax and pumpkin seeds and filtered water using a dough whisk or a wooden spoon. Mix to form a milky liquid.
Add the wholemeal and strong white flour. Continue mixing and use wet hands to make sure that no dry flour is visible. Leave covered with a wet tea towel for about 1 hour.
After about 1 hour, give the dough a stretch and fold. Then leave covered with a wet tea towel for a total of 4-9 hours* from the time you initially mixed the dough, depending on the weather. If it’s warm e.g. 26C, closer to 4 hours and if it’s cool e.g. 18C, closer to 9 hours.
*Alternative timing with the ‘backwards bread’ method - leave the dough on the counter for approx. 10 hours from when you mixed it. Shape it and leave in the fridge just as the oven preheats.
During this time, ideally give the dough a few folds approx. once per hour to build dough strength. But, if you don’t have time to do any more folds, the dough will also be just fine!
When ready, if making 3 loaves, divide the dough into 3 equal pieces using a bench knife. Then shape into a round or oval loaf. Here is a video of my favourite way to shape dough, in case you’re not sure.
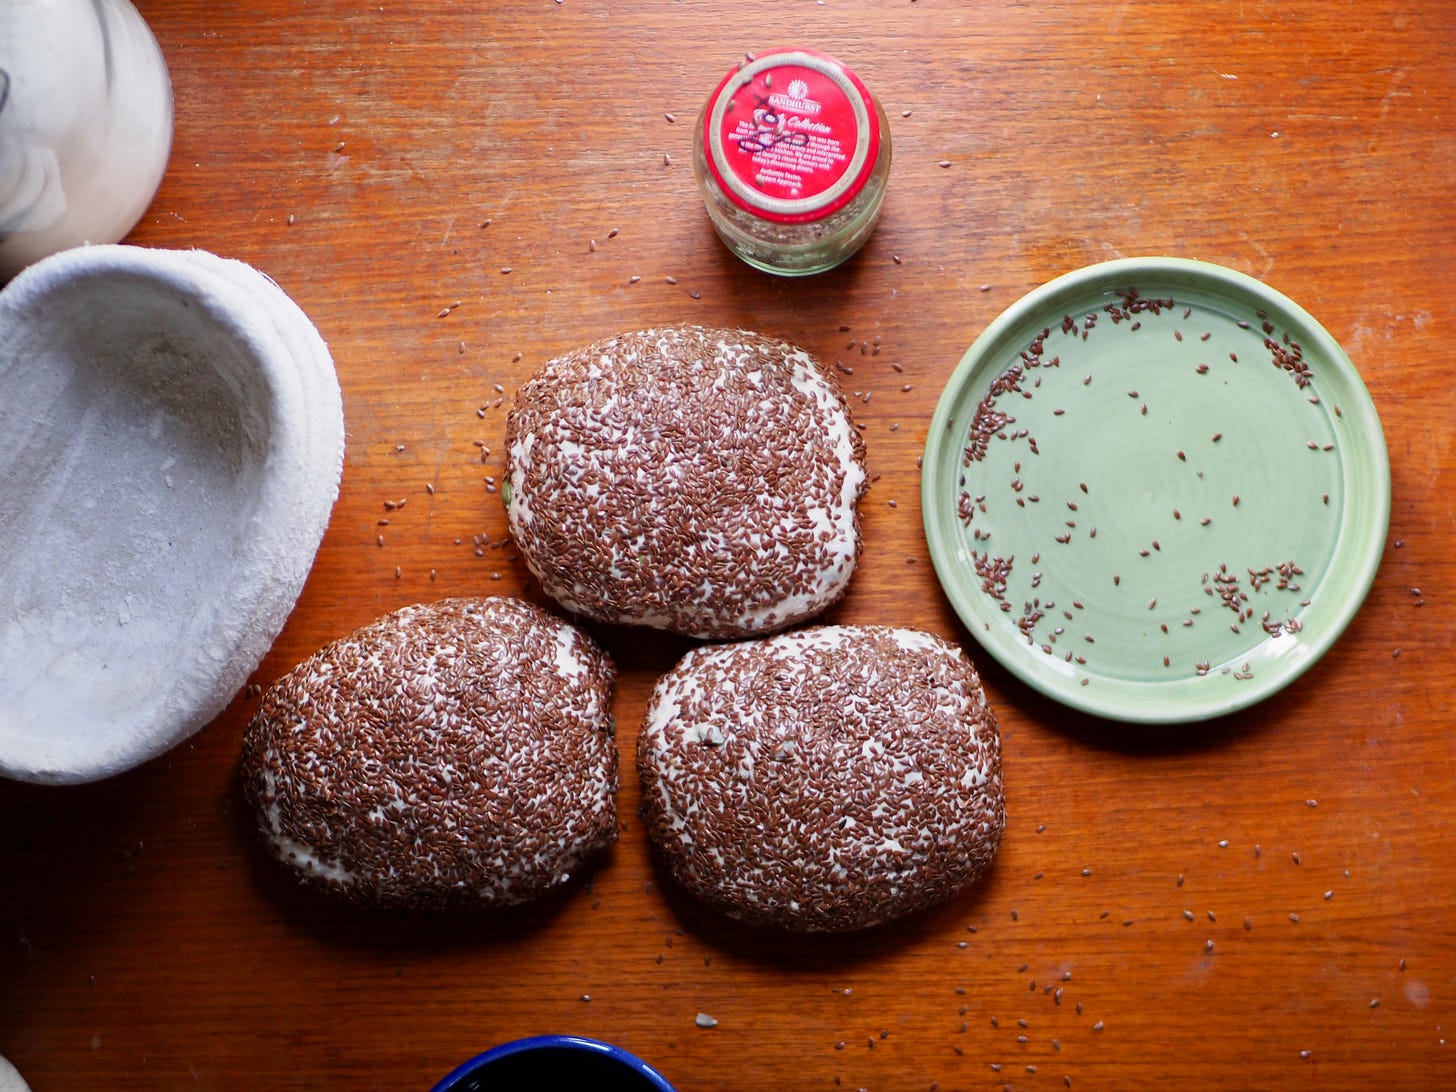
To create a seeded crust, take a side plate and cover it with flax seeds. Roll the dough into the flax seeds so that your loaf is covered. Then coat with flour and place into a banneton or a bowl lined with a tea towel.
Leave covered with a wet tea towel in the fridge overnight (for between 6-24 hours, ideally, though you can leave it longer too if you need – the longer it’s left the more sour flavour it will develop).
Baking the loaf / loaves
When you’re ready to bake, preheat your oven to 240C / 460F with your Dutch oven inside for 45 minutes.
If baking 3 loaves at once, place 2 Dutch ovens inside, one on the middle shelf and one directly on the bottom of the oven.
Once your oven is fully preheated, take your dough out of the fridge and remove from the banneton. Place onto a piece of parchment paper. Score the top of the loaf. Carefully remove your Dutch oven from the oven and place the loaf inside. Give a few sprays of water and replace the lid. Return the Dutch oven to the oven and bake for 10 minutes at 240C / 460F.
If making 3 loaves, repeat this process with your second Dutch oven. Place your third loaf into a loaf tin, no need to score the top. Spray with water and close the tin lid, but don’t put the tin into the oven yet.
Then turn the oven down to 220C / 430F.
If making 3 at once, put your loaf tin into the oven too, ideally squeeze it onto the middle shelf.
Continue baking for 25 minutes.
Next, remove the lids of the Dutch oven(s) and the tin and continue baking for 10-15 minutes, or until golden brown.
Especailly if baking 3 loaves, go by colour more than by time. The bottom loaf may need longer, depending on the heat distribution in your oven.
Allow to cool on a cooling rack, waiting until cooled completely (or as close as possible) before cutting into the loaf. Then enjoy your delicious, extra seed filled creation.


Do you have any other terms for whole meal flour and strong white flour? Idk what either of those are😅
Thx for seed to flour ratios. I’m coating mine in sesame & poppy seeds mmmmmm
Also I use 100% fresh ground wholewheat with a 100% wholewheat starter. Game changer.