Dear bread friends,
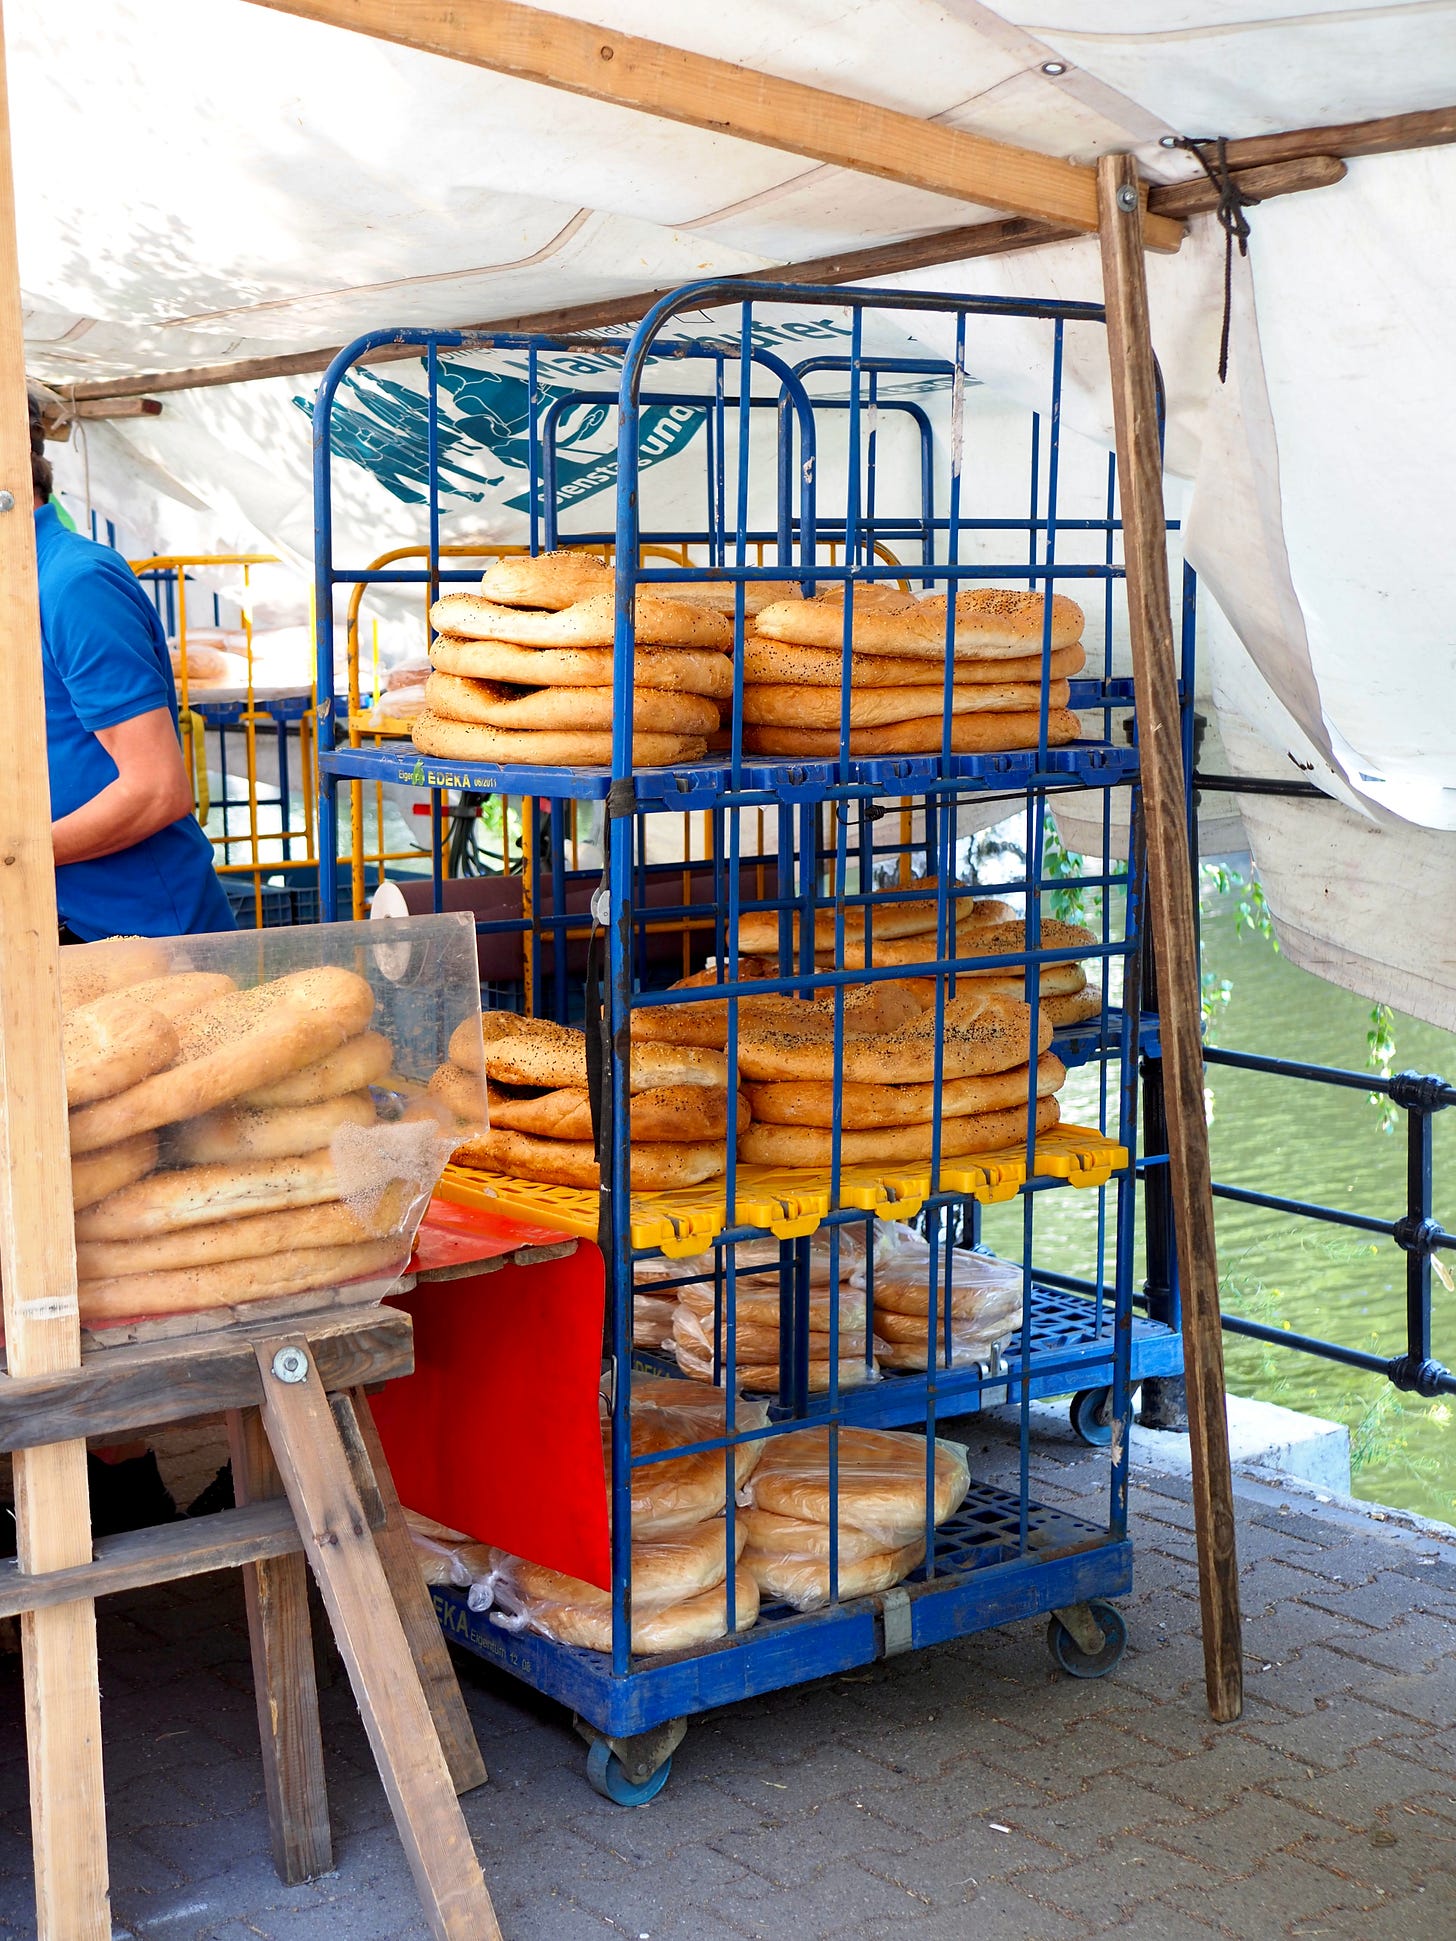
Perhaps you noticed that there was no newsletter in July – very sad, I know! This was because I was in Berlin. I wasn’t making bread, I was actually doing something completely different connected to my other life as a language teacher and former PhD student (you know, this video). It’s amazing how a change of context can allow you to look at the world in a really new way, and get excited about things and see things you might just take for granted at home. I felt so inspired by all the delicious food in Berlin: falafel, Turkish markets with their array of dips and Fladenbrot, Knödel… and of course all of the wonderful bakeries!
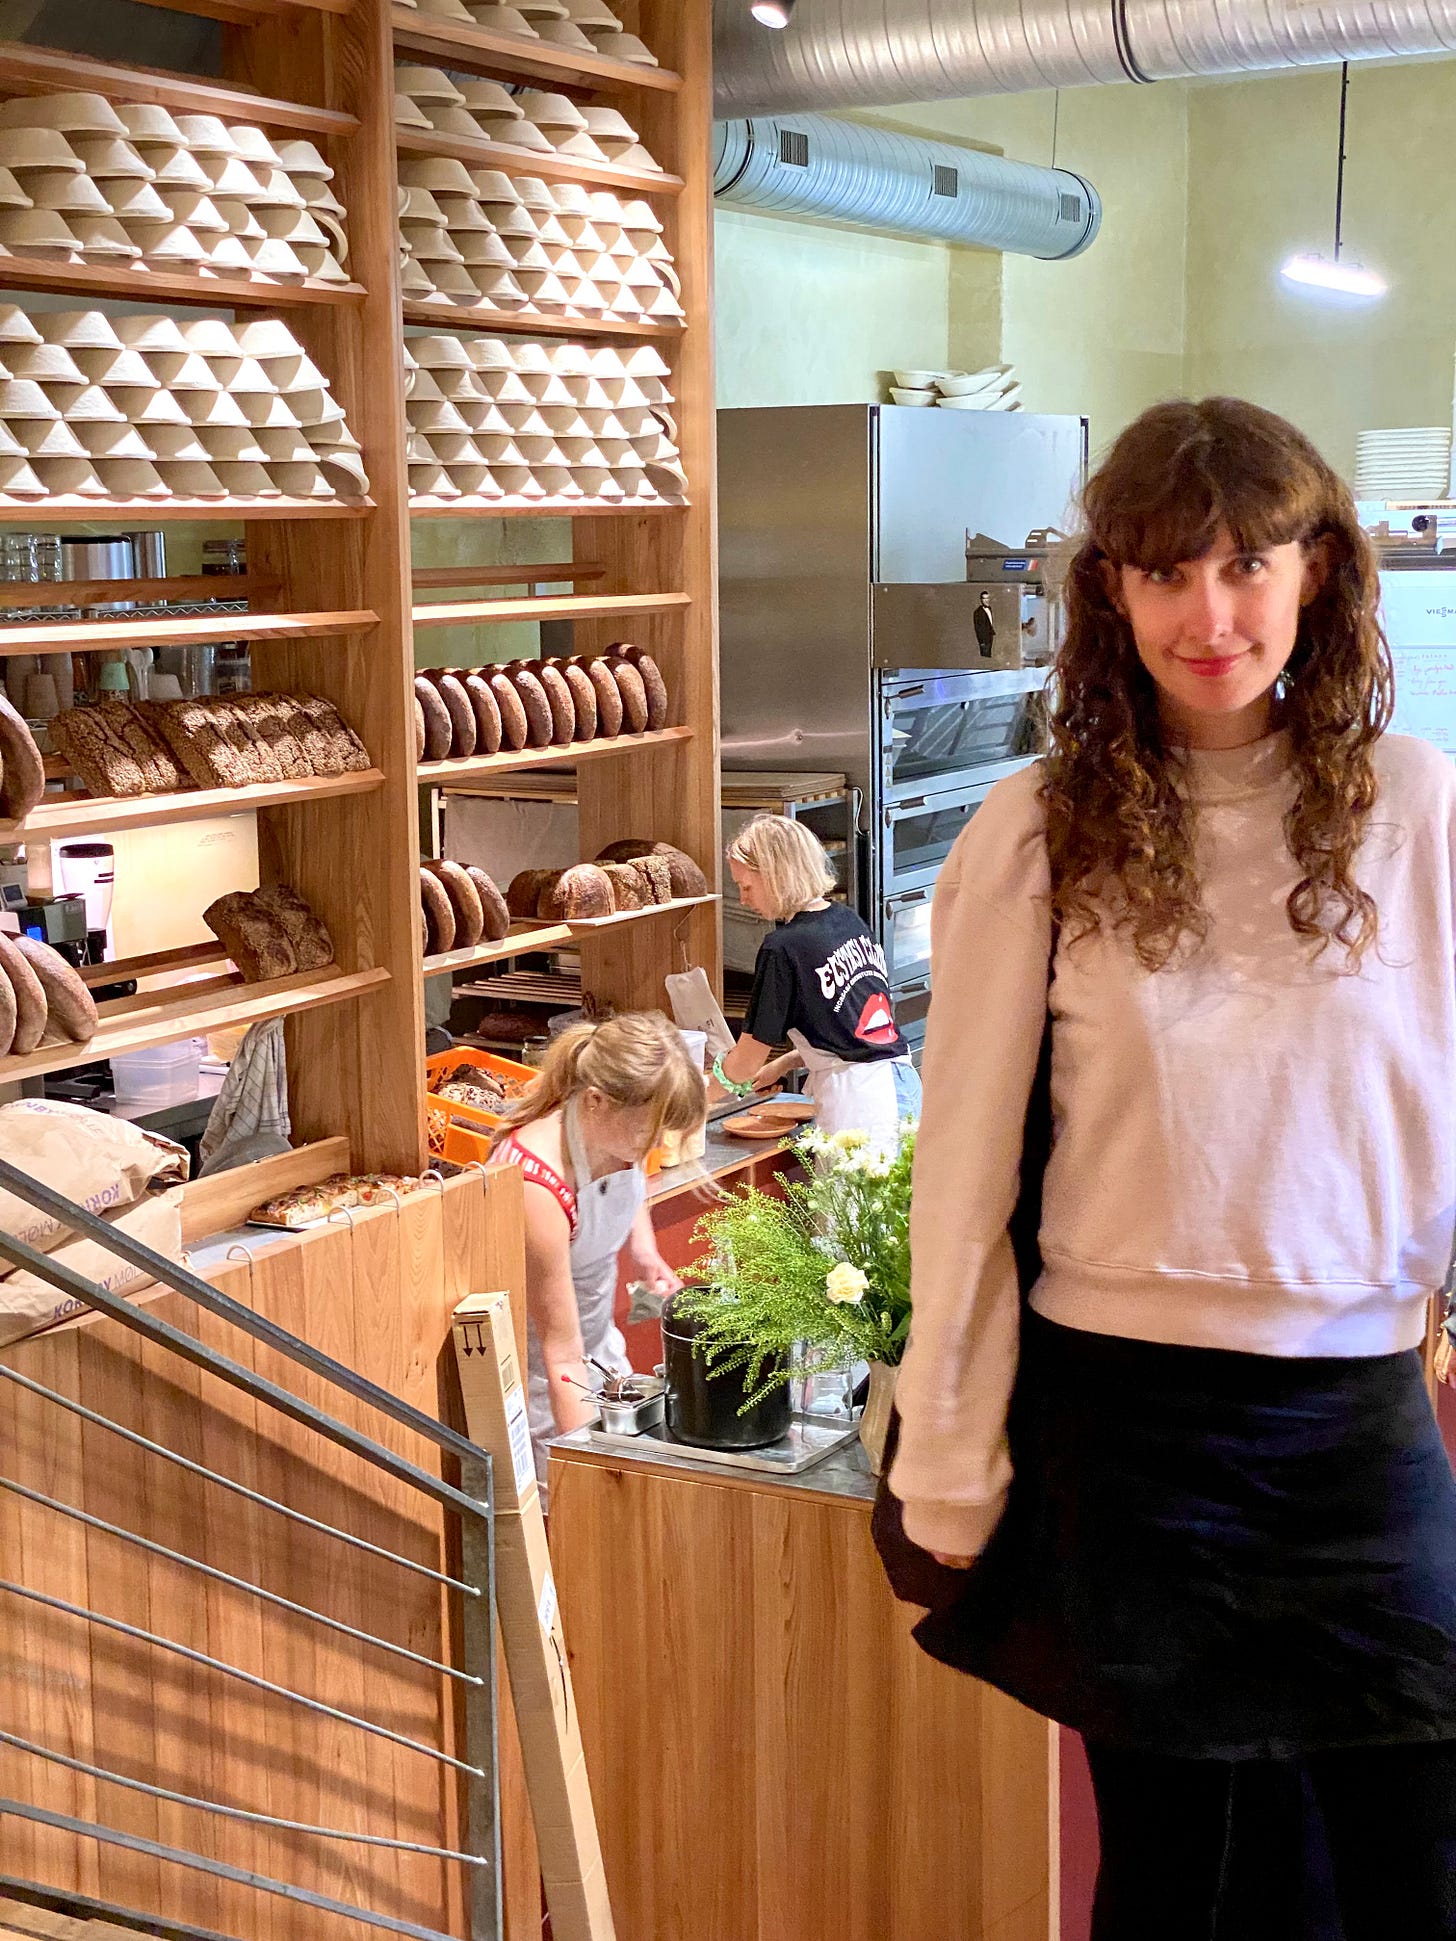
I hadn’t been to Berlin for 3 years and it was amazing to see a new generation of bakeries coming to life. And it was also so nice to visit some of my old favourites.
In case you ever have the joy of going to Berlin, here are just a few that I would highly recommend you also visit: Sofi, Gorilla, Croissanterie, Albatross, and FREA.
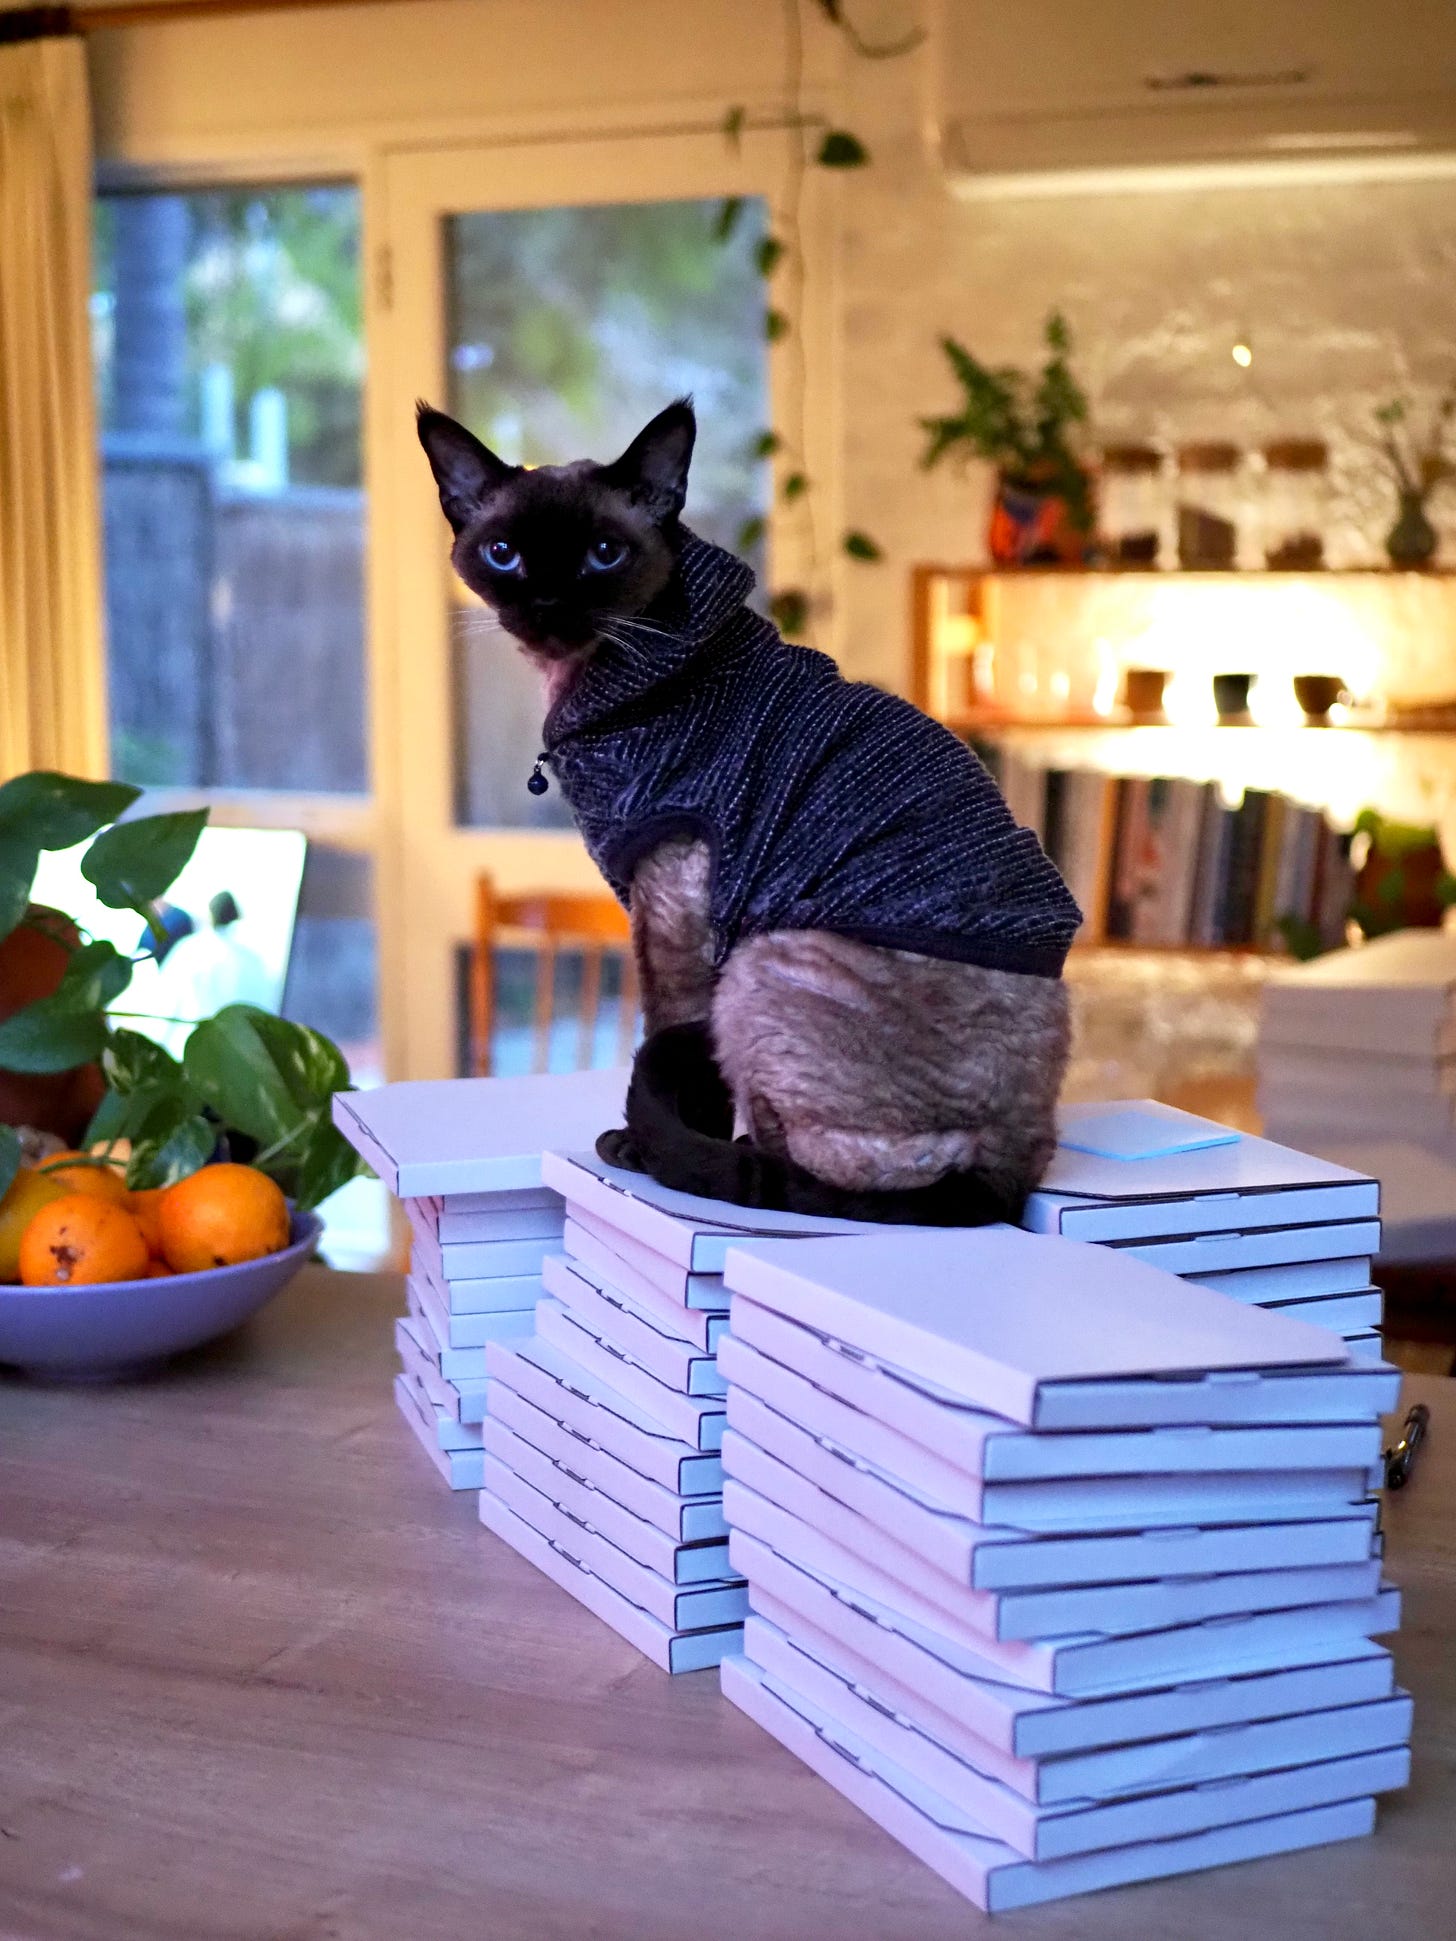
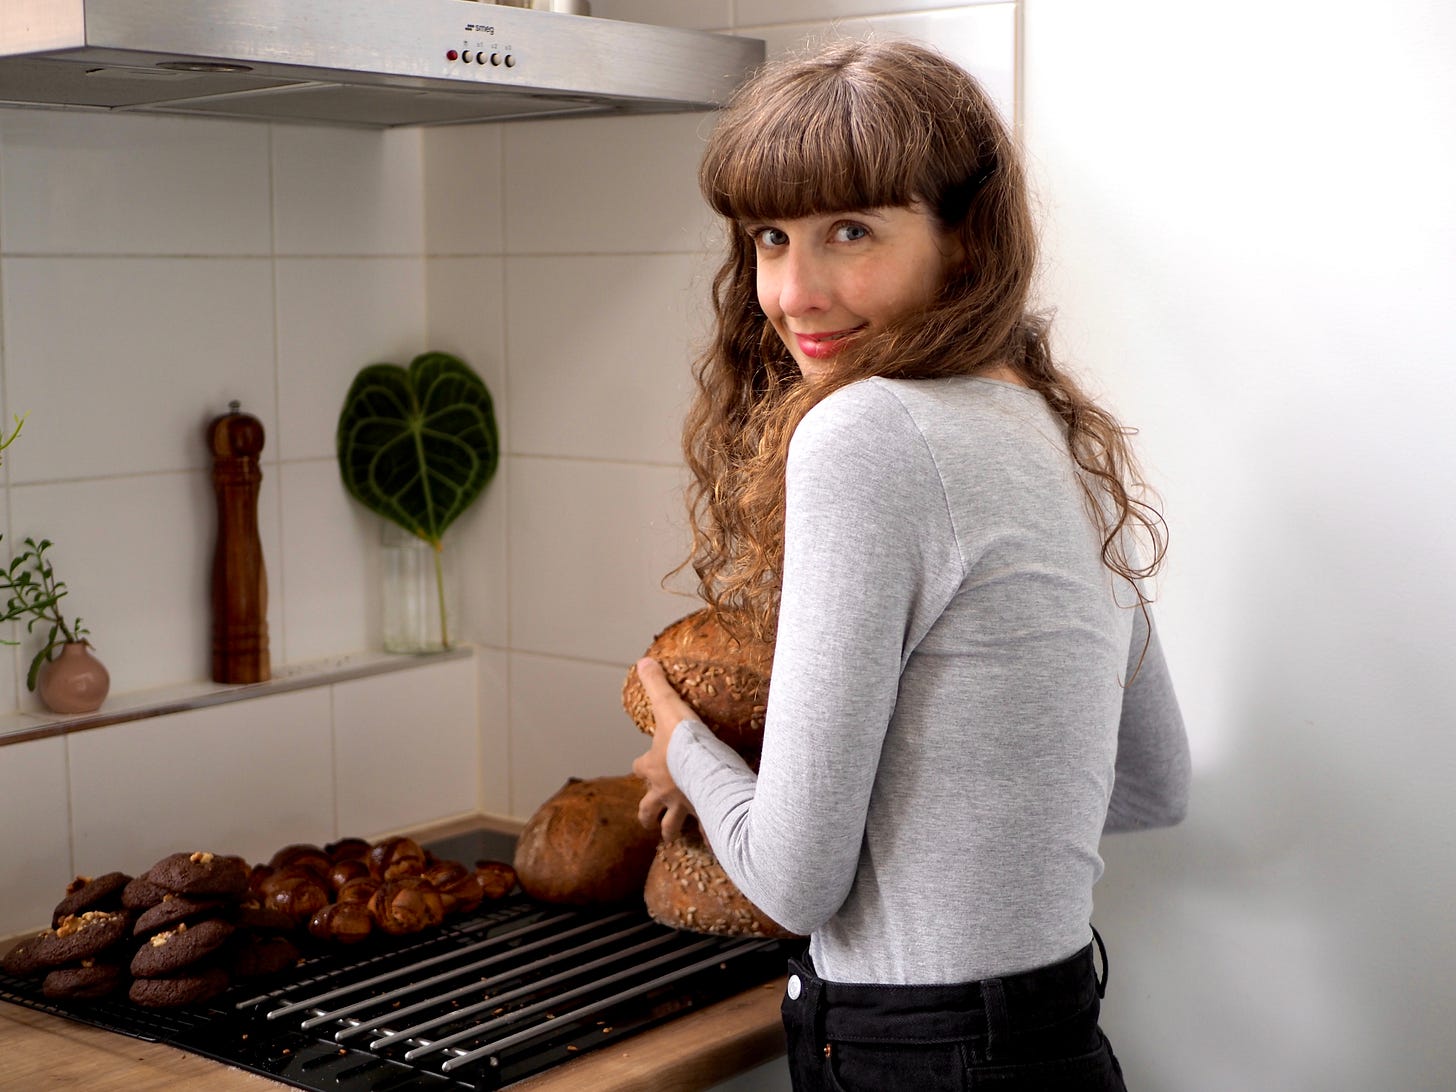
And since being back in Adelaide, I’ve been very busy packing up orders of my baking book Live Laugh Loaf and I’m so excited to say that it’s sold out again! Benny (my cat) has been helping, of course. I love being able to share my recipes with you through this little book. In case you’re unfamiliar with my book, and you’re thinking about trying to make a sourdough starter, and your first loaf – my book is about helping you and making it less terrifying/ destined for failure than your google search might make it seem!
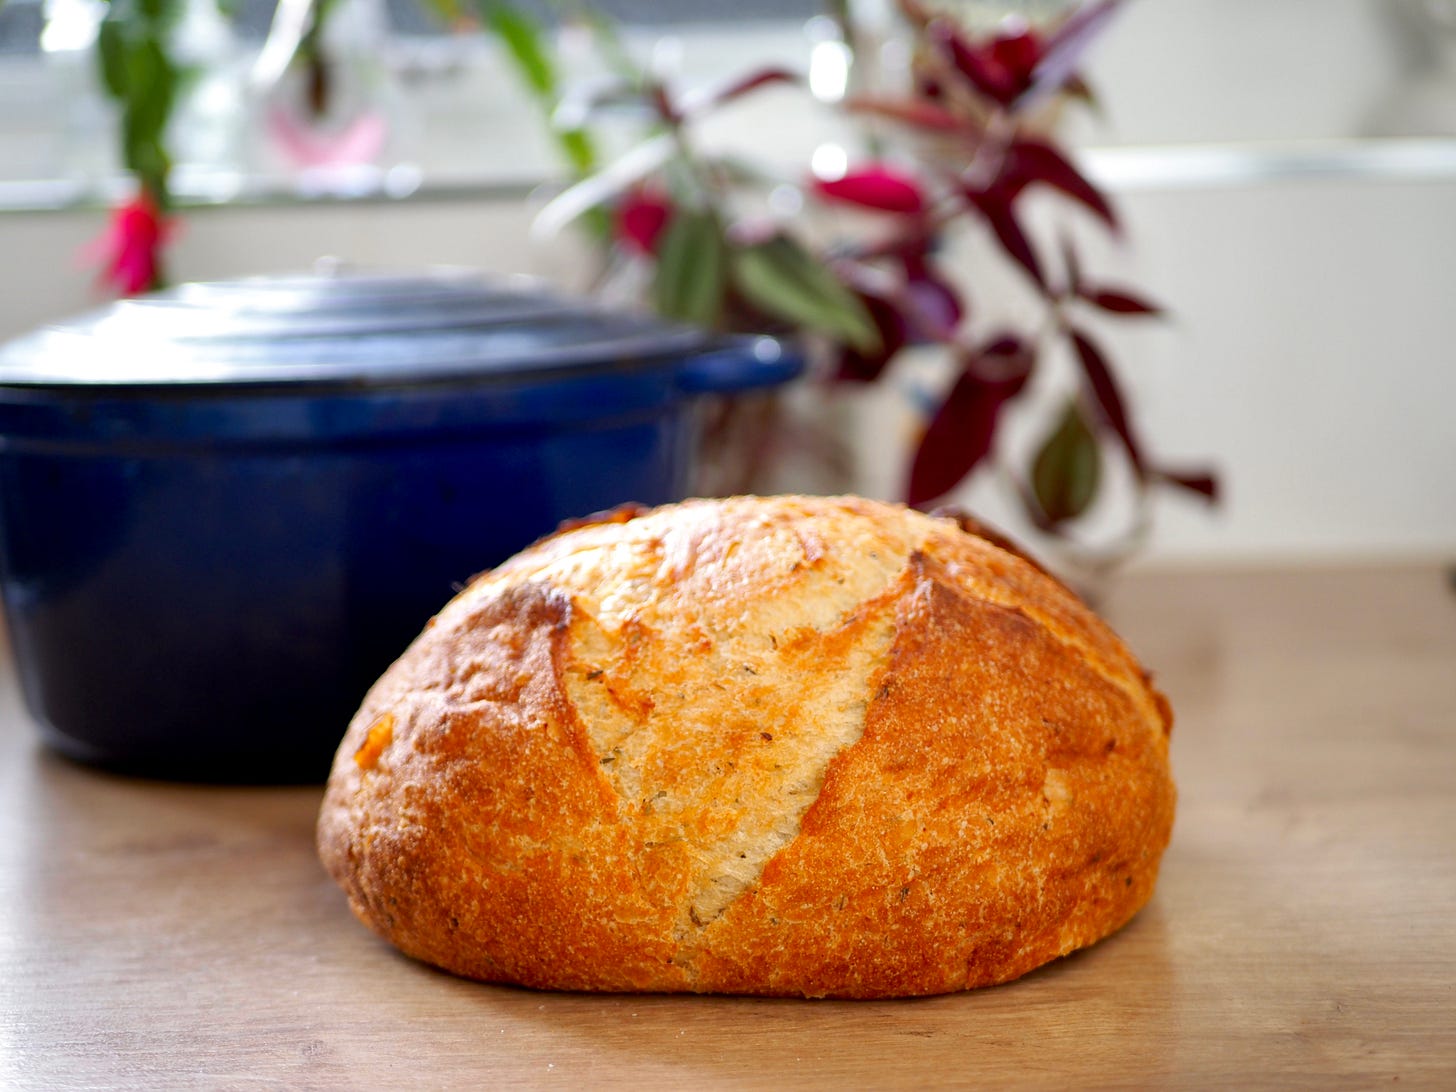
Maybe you’ve been following along with my quest to make a super soft bread (you know, this video) that my dad, who only likes supermarket bread, will like. Somewhat incidentally, I tried out making a potato bread with yeast – because at @abc_everyday, where I’m currently working, we were doing a week of winter-potato-themed content. And when I took it out of the pot I was like, ‘This is the perfect loaf for my dad!!’ and it was (this video)! Both he and my mum said they thought it’s the best bread I’ve ever made (I actually disagree - it’s great but I like the crunchy sourdough better!)! So if you, or a family member loves soft squishy bread, I highly recommend giving my potato bread recipe a go!
I’ve also had the joy of sharing some thoughts on how much I’ve learned through baking sourdough with the ABC – it’s taught me so much more than just baking skills! I think if you bake bread a lot, you will be able to relate… it forces you to get comfortable with your ability to make decisions!
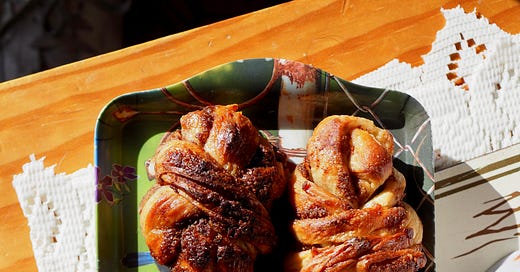
On the last day that I was in Berlin, I found some Hagelzucker – literally translated ‘hail sugar’! It’s this special kind of compressed sugar that’s common in Europe and often used for brioche and cinnamon rolls… So finally, here is the recipe for the Invy-baker inspired cinnamon buns that I promised I’d share with you. I can’t wait to make more of these and sprinkle some Hagelzucker over them! I made a slightly different version of these using freshly milled, sifted wholewheat flour instead of bakers flour and 50g of coconut instead of cinnamon the other week and they were delicious (in this video)! So, in case you feel like experimenting, know that it’s quite easy to swap out the cinnamon filling for other things like coconut or chocolate.
Sourdough cinnamon buns
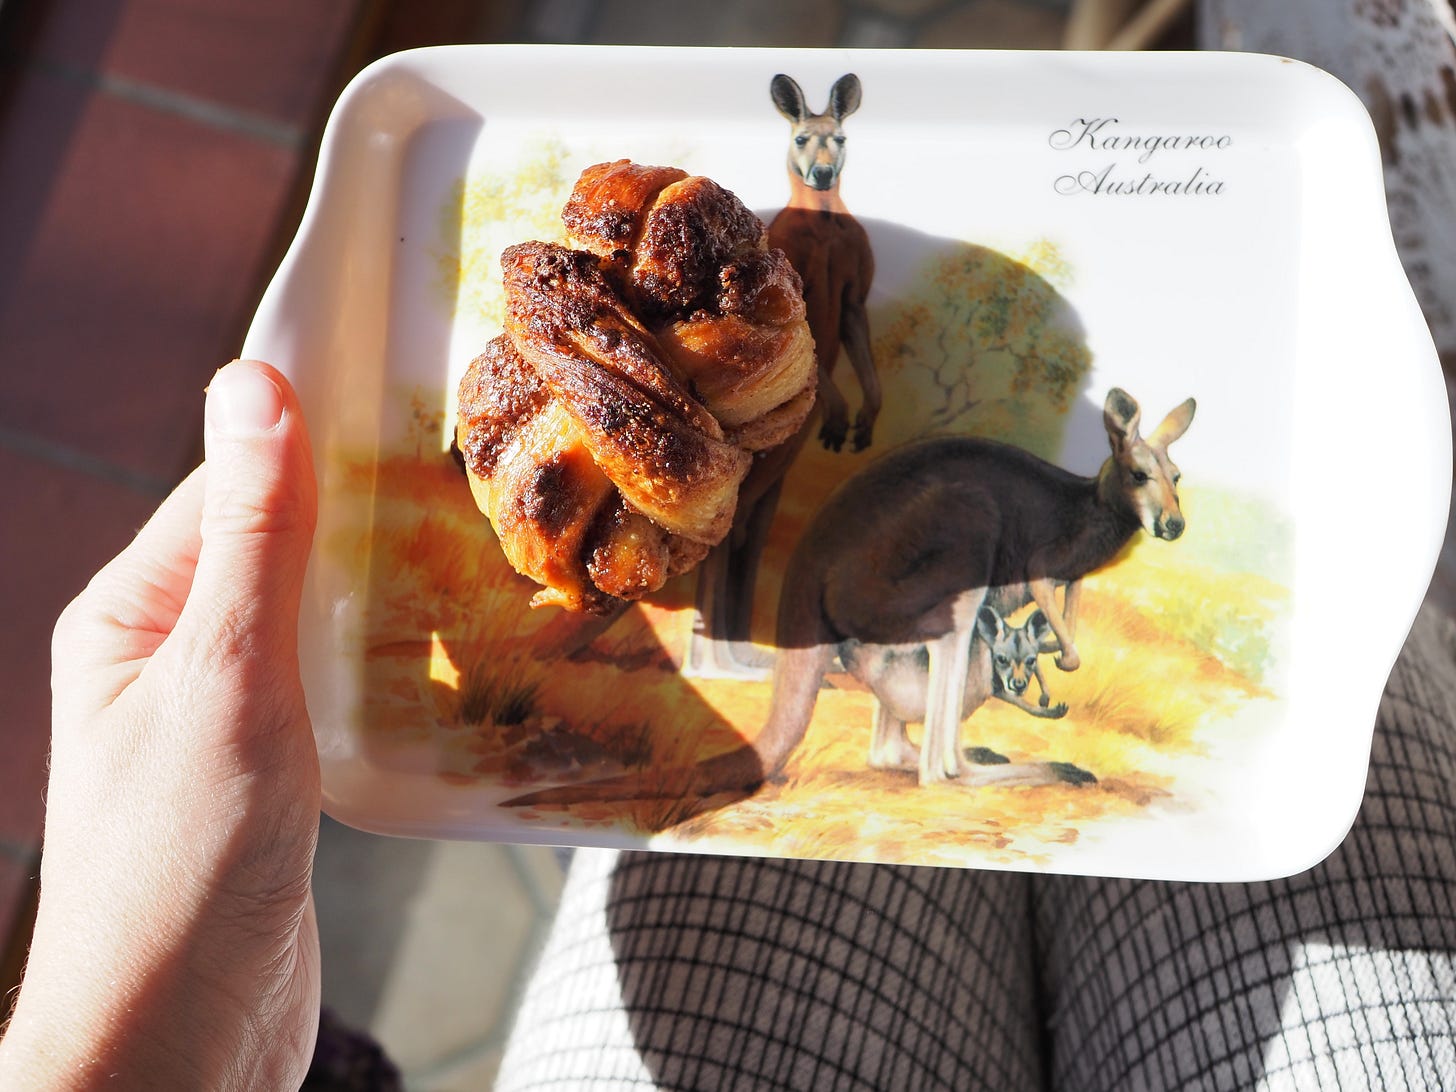
The recipe for these buns began with a recipe shared on Instagram by @theinvybaker. I never, ever get sick of watching him shape these buns. They just look so beautiful! So when the recipe came out I knew I had to try it! The original recipe uses fresh yeast, so over the last months, I’ve been working on my own interpretation of this recipe that uses sourdough. My technique for shaping these is somewhat ‘rustic’ and not too exact, I like each bun to come out a little different, with its own personality (you know, like in this video). I have a lot more fun that way! Note that because this dough has butter added to it, it proves more slowly, so don’t be afraid to give it some extra proofing time.
Makes 1 tray of buns (approx. 9)
Tools
Rolling pin
A deep oven tray, plus an additional oven tray to use as a lid (you could also use alfoil or turn the fan off for the first part of the bake)
Kitchen scales
A spray bottle with water (or you can flick water with your hands)
Paint brush or pastry brush
Ingredients
Dough
80g bubbly sourdough starter
70g white sugar
5g salt
65g butter, cubed, room temperature
150g filtered water, room temperature
370g bakers flour
Cinnamon filling
70g white sugar
70g butter, room temperature
20g almond meal
5g cinnamon
1 tsp vanilla extract
Vanilla glaze
20g brown sugar
20g boiling water
1 tsp vanilla extract
Method
1. In a large mixing bowl, add the sourdough starter, sugar, salt, butter, and water. Mix using a wooden spoon to combine, then add the bakers flour and mix again, first using the wooden spoon, and eventually with wet hands.
Leave covered with a wet tea towel for 30 minutes.
2. After 30 minutes, do some stretch and folds to help the dough come together more and to make sure that all ingredients are well combined. You can lift the dough up out of the bowl and smooth it over with your hands.
Then leave covered with a wet tea towel for 8-12 hours depending on the weather. If you’d like to do a couple of extra coil folds during this time, you can, but I usually just go to bed and leave it on the counter.
3. After 8-12 hours, when your dough is looking bubblier and puffier, begin to make the cinnamon filling. Mix together the sugar, butter, almond meal, cinnamon and vanilla in a bowl. Start out using a spoon and eventually squish it together with your hands until it forms a thick paste. Then take your dough and on a lightly floured work bench, roll it out to a rectangle about 30cmx40cm and around 5mm thick (it doesn’t need to be too exact).
Around now, you can also preheat your oven to 200C.
4. Spread the cinnamon filling over the two bottom thirds of your rectangle. Fold down the top third and then fold up the bottom third. Then roll out your rectangle again until it’s around 30cmx40cm and around 5mm thick. Then cut your rectangle into strips about 5-6cm apart, you should end up with about 9 strips.
5. Pick up each strip, gently stretch it out and then wrap it around your hand to make a loop. Then slide it off your hand and wrap the end of the strip of dough around the loop that you made. This video might help to visualise the process. (You can also just tie it in a knot if that extra loop is too much!) Place onto a deep baking tray lined with parchment paper (deep because sometimes some butter escapes during and the tray will catch it and let it caramelise and bake with your buns).
6. Use a spray bottle to give the buns a few sprays of steam. Place a second baking tray on top of the baking tray that the buns are in to create a kind of lid and keep steam in.
7. Bake at 200C with the fan on for 30 minutes. Then remove the lid and continue baking for 10-20 minutes further, until the buns are golden brown.
8. When the buns are nearly done, make the vanilla glaze by add boiling water to a mug and mixing in the brown sugar and vanilla extract. Then remove the buns from the oven and while they’re still sizzling, paint them with the glaze. Make sure you paint the tops as well as the sides. This makes them look beautiful and shiny.
9. Move the buns to a cooling rack and let them cool at least a bit - I know it’s quite difficult!! Enjoy while super fresh with a morning coffee, or reheat if you’re eating them a day or two later so that they become nice and soft again. Yay!
Thank you for reading, I hope you enjoyed my little newsletter. If you make these buns (or one of my other recipes from my ABC collabs or my book for that matter!), I loveeeee seeing your photos of what you’ve made so much! Tag me on Insta, or send me a message, or comment, or however works best for you! It makes me very happy!
<3 <3 <3 Mary




hi mary!! just made these for the first time and they are absolutely DELICIOUS!!!! will definitely be making them again. ❤️❤️
Just tried these for the first time....my cinnamon filling was a bit sticky so it didn't spread that well and i ended up rolling it onto the dough - do you have any tips how to make it more 'spreadable'?